Einführung
LEMP ist das Akronym für Linux, Nginx, MySQL und PHP. Dieses Tutorial soll WordPress auf dem LEMP-Stack hosten.
Installieren Sie MySQL auf Ubuntu 20.04.2 LTS
- Installation des MySQL-Servers auf Ubuntu 20.04.2 LTS. Verwenden Sie den Paketmanager apt, um das MySQL-Serverpaket zu installieren.
Installieren Sie es, indem Sie zuerst den Index auf Ihrem Server aktualisieren.
sudo apt updateInstallieren Sie das MySQL-Server-Paket
sudo apt install mysql-serverMySQL konfigurieren
2. Zu Testzwecken verwenden wir das Skript mysql_secure_installation. Dadurch werden Sicherheitsstandards für die MySQL-Konfiguration konfiguriert. Der MySQL-Dienst sollte laufen.
Führen Sie das MySQL-Sicherheitsskript
aussudo mysql_secure_installation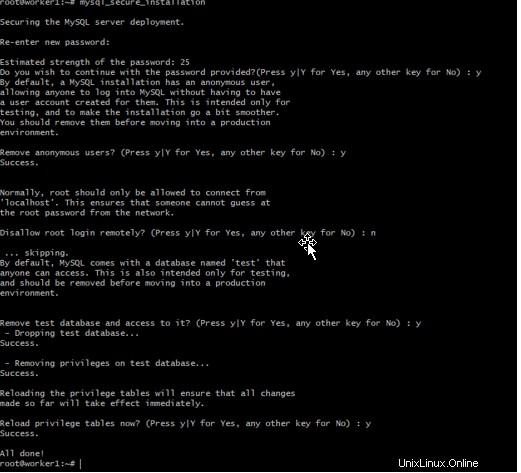
MySQL-Benutzer mit Berechtigungen erstellen
1 . Erstellen Sie einen privilegierten Benutzer für WordPress mit Datenbank
mysql -u root -p

mysql> CREATE DATABASE wordpress;
Query OK, 1 row affected (0.00 sec)

mysql> CREATE USER 'wpuser'@'localhost' IDENTIFIED BY 'UN@ixc0p';
Query OK, 0 rows affected (0.01 sec)

mysql> Flush privileges;
Query OK, 0 rows affected (0.00 sec)

mysql> GRANT ALL PRIVILEGES ON wordpress.* TO 'wpuser'@'localhost';
Query OK, 0 rows affected (0.00 sec)

mysql> Flush privileges;
Query OK, 0 rows affected (0.00 sec)

mysql> quit
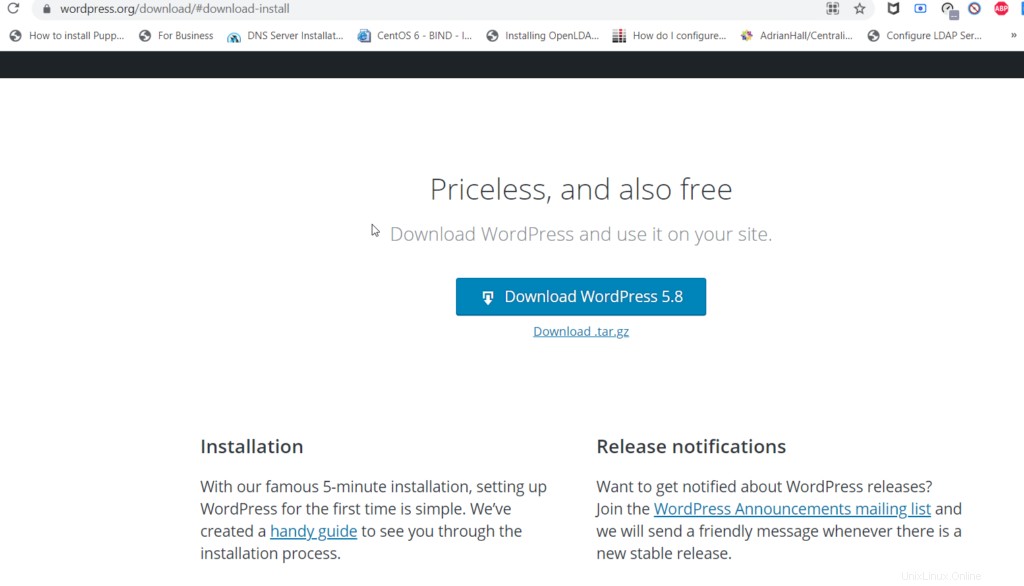
Laden Sie das WordPress-Installationsprogramm herunter
- Laden Sie das Installationsprogramm von wordpress.org herunter. Link
Installieren Sie Nginx und PHP
- Installieren Sie Nginx und PHP mit apt
sudo apt install nginx php-fpm php-curl php-gd php-intl php-mbstring php-soap php-xml php-xmlrpc php-zip php-mysqlnd -y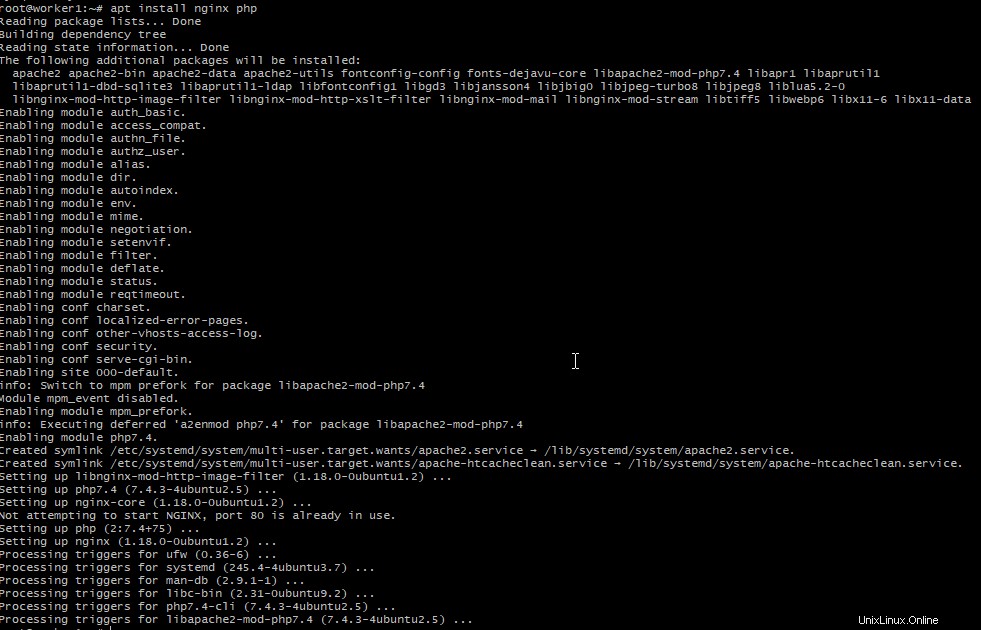
2. Validieren Sie die PHP-Version
php -v3. Bearbeiten Sie die PHP-Pfadinformationen
sudo vi /etc/php/7.4/fpm/php.ini

cgi.fix_pathinfo=0
:wq!
4. Starten Sie den PHP-fpm-Dienst neu
systemctl restart php7.4-fpm5. Erstellen Sie einen Vhost, um die neue WordPress-Anwendung abzubilden.
vi /etc/nginx/sites-available/default

server {
        listen 80 default_server;
        listen [::]:80 default_server;

        root /var/www/html;
        server_name worker1.unixcop.com;

        location / {
                # First attempt to serve request as file, then
                try_files $uri $uri/ /index.php$is_args$args;
        }
        location = /favicon.ico { log_not_found off; access_log off; }
        location = /robots.txt { log_not_found off; access_log off; allow all; }
        location ~* \.(css|gif|ico|jpeg|jpg|js|png)$ {
                expires max;
                log_not_found off;
        }
        location ~ \.php$ {
                try_files $uri =404;
                fastcgi_split_path_info ^(.+\.php)(/.+)$;
                fastcgi_pass unix:/var/run/php/php7.4-fpm.sock;
                fastcgi_index index.php;
                fastcgi_param SCRIPT_FILENAME $document_root$fastcgi_script_name;
                include fastcgi_params;
        }
}
Extrahieren Sie die heruntergeladene WordPress-App
- Extrahieren Sie die von Workpress heruntergeladene Datei
tar xzvf latest.tar.gz -C /var/www/html/wordpress2. Kopieren und bearbeiten Sie wp-config.php
cd /var/www/html/wordpress

cp wp-config-sample.php wp-config.php
3. Ändern Sie den Eigentümer der WordPress-Dateien www-data.
chown -R www-data:www-data /var/www/html/wordpress/4. Bearbeiten Sie nun die wp-config.php und fügen Sie sie hinzu. Fügen Sie den Benutzernamen, das Passwort und die von WordPress verwendete Datenbank hinzu.
define('DB_NAME', 'wordpress');

/** MySQL database username */
define('DB_USER', 'wpuser');

/** MySQL database password */
define('DB_PASSWORD', 'UN@ixc0p');

. . .

define('FS_METHOD', 'direct');

:wq!
5. Schließen Sie die WordPress-Installation ab. Gehen Sie zum Browser Ihrer Wahl und gehen Sie zur IP-Adresse des Servers. In meinem Fall verwende ich fqdn aus meinem A-Eintrag mit der Domäne unixcop.com.
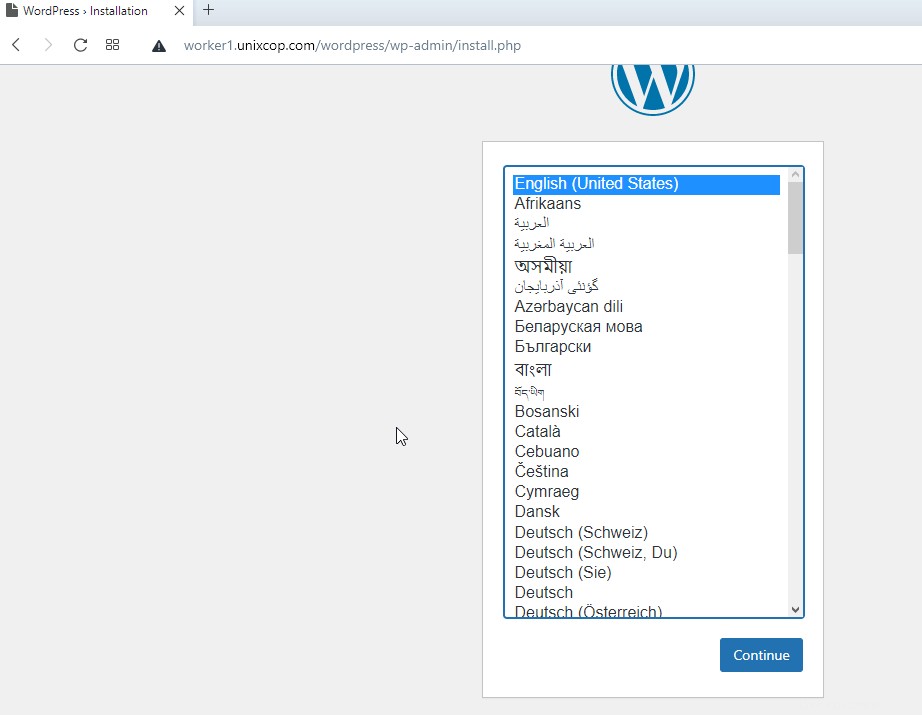
Nun ist Ihre WordPress-Site in Betrieb.
