LEMP ist ein Open-Source-Modell von Webservice-Stacks, das aus vier Komponenten besteht:Linux, Nginx, MariaDB und PHP. Ein LEMP-Stack wird zum Entwickeln und Bereitstellen von Webanwendungen verwendet. Die meisten Webanwendungen werden auf einem LEMP-Stack ausgeführt, daher ist es sehr wichtig, dass ein Systemadministrator einen LEMP-Stack mit SSL sichern kann. Wenn Sie ein neuer Website-Entwickler oder Blogger sind, der nach verbessertem organischen Web-Traffic sucht, dann ist es wichtig, einen SSL-fähigen Webserver für SEO (Suchmaschinenoptimierung) zu haben.
Let’s Encrypt ist eine kostenlose Open-Source-Zertifizierungsstelle, die kostenlose SSL-Zertifikate bereitstellt. Let’s Encrypt ist eine gemeinnützige Zertifizierungsstelle, die darauf abzielt, ein sichereres Web zu schaffen, indem sie die weit verbreitete Einführung von HTTPS fördert.
In diesem Tutorial lernen wir, wie man einen LEMP-Server mit Let’s Encrypt Free SSL auf Ubuntu 18.04 VPS sichert.
Voraussetzungen
- Ein frischer Ubuntu 18.04-Server-VPS in der Atlantic.net Cloud.
- Ein gültiger Domänenname, der auf Ihre VPS-IP-Adresse verweist. In diesem Tutorial verwenden wir example.com.
Schritt 1 – Atlantic.Net Cloud-Server erstellen
Melden Sie sich zunächst bei Ihrem Atlantic.Net Cloud Server an. Erstellen Sie einen neuen Server mit Ubuntu 18.04 als Betriebssystem und mindestens 2 GB RAM. Stellen Sie über SSH eine Verbindung zu Ihrem Cloud-Server her und melden Sie sich mit den oben auf der Seite hervorgehobenen Anmeldeinformationen an.
Sobald Sie sich bei Ihrem Ubuntu 18.04-Server angemeldet haben, führen Sie den folgenden Befehl aus, um Ihr Basissystem mit den neuesten verfügbaren Paketen zu aktualisieren.
apt-get update -y
Schritt 2 – LEMP auf dem Server installieren
Installieren Sie zuerst LEMP auf dem Server, indem Sie den folgenden Befehl ausführen:
apt-get install nginx mariadb-server php php-common -y
Sobald alle Pakete installiert sind, starten Sie den Nginx-Webdienst und aktivieren Sie ihn nach dem Systemneustart mit dem folgenden Befehl:
systemctl start nginx
systemctl enable nginx
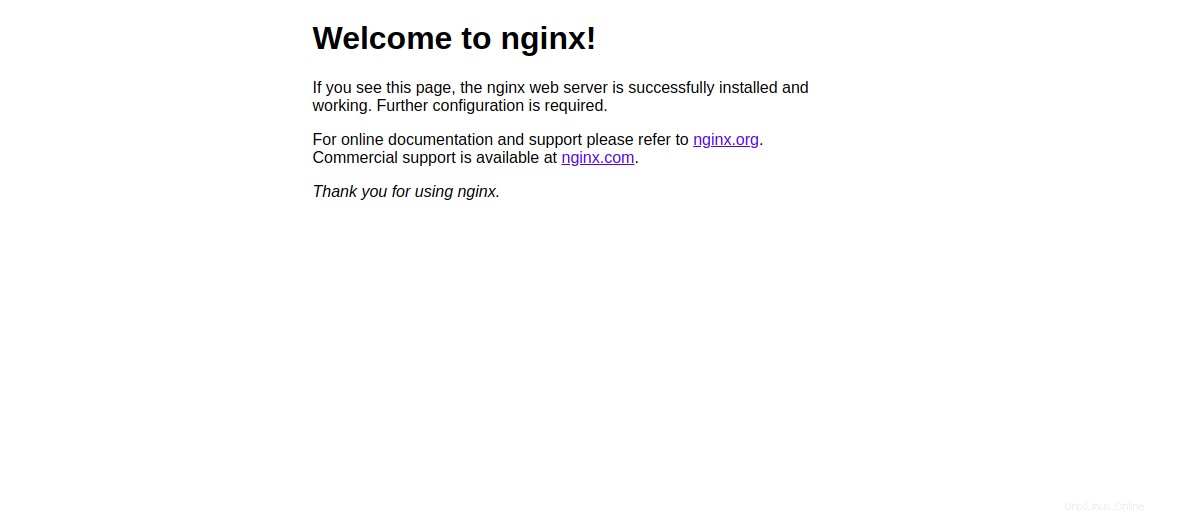
Öffnen Sie als Nächstes Ihren Webbrowser und geben Sie die URL http://example.com ein. Sie sollten die Nginx-Standardseite sehen:
Schritt 3 – Erstellen Sie eine Nginx-Site für Ihre Domain
Als Nächstes müssen Sie einen virtuellen Nginx-Host für Ihre Domain erstellen. Wir werden das kostenlose SSL von Let’s Encrypt später auf dieser Website installieren.
Sie können es mit dem folgenden Befehl erstellen:
nano /etc/nginx/sites-available/example.com.conf
Fügen Sie die folgenden Zeilen hinzu:
server {
   listen 80;

   root /var/www/html;

   index index.html;

   server_name example.com;

   location / {
      try_files $uri $uri/ =404;
   }

}
Speichern und schließen Sie die Datei. Aktivieren Sie dann einen virtuellen Nginx-Host mit dem folgenden Befehl:
ln -s /etc/nginx/sites-available/example.com.conf /etc/nginx/sites-enabled/
Überprüfen Sie als Nächstes Nginx mit dem folgenden Befehl auf Syntaxfehler:
nginx -t
Wenn alles gut geht, sollten Sie die folgende Ausgabe sehen:
nginx: the configuration file /etc/nginx/nginx.conf syntax is ok
nginx: configuration file /etc/nginx/nginx.conf test is successful
Starten Sie abschließend den Nginx-Dienst neu, um die Konfigurationsänderungen zu übernehmen:
systemctl restart nginx
Erstellen Sie als Nächstes eine index.html-Datei für Ihre Domain:
nano /var/www/html/index.html
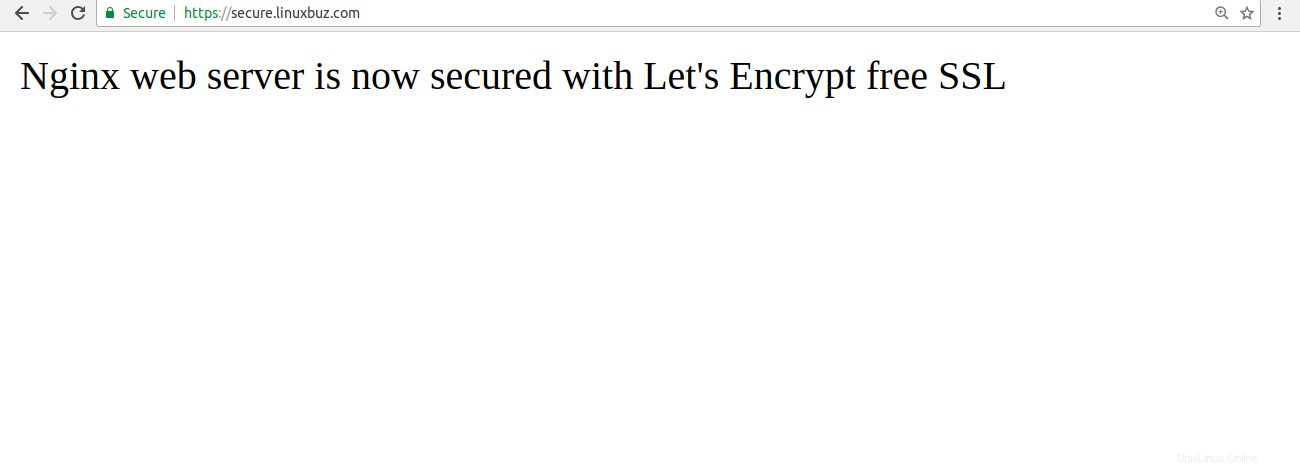
Add the following lines:

<html>
Nginx web server is now secured with Let's Encrypt free SSL
</html>
Speichern und schließen Sie die Datei. Ändern Sie dann den Eigentümer der Datei mit dem folgenden Befehl in www-data:
chown www-data: /var/www/html/index.html
Schritt 4 – Installieren Sie Let’s Encrypt auf Ihrer Domain
Nginx ist jetzt installiert und läuft. Es ist an der Zeit, es mit dem kostenlosen SSL von Let’s Encrypt zu sichern.
Zuerst müssen Sie das Certbot-Tool installieren, um das kostenlose SSL-Zertifikat von Let’s Encrypt zu erhalten und es auf Ihrer Domain zu installieren. Certbot ist ein kostenloses und voll funktionsfähiges Tool, das den Prozess zum Abrufen und Installieren von SSL auf Ihrer Domain automatisiert.
Sie können das Repository mit dem folgenden Befehl hinzufügen:
add-apt-repository ppa:certbot/certbot
Sobald das Repository hinzugefügt wurde, aktualisieren Sie das Repository und installieren Sie Certbot mit dem folgenden Befehl:
apt-get update -y
apt-get install python-certbot-nginx -y
Führen Sie nach der Installation den folgenden Befehl aus, um das Zertifikat für Ihre Domäne abzurufen und zu installieren:
certbot --nginx -d example.com
Während der Installation müssen Sie Ihre E-Mail-Adresse angeben und den nachstehenden Nutzungsbedingungen zustimmen:
Saving debug log to /var/log/letsencrypt/letsencrypt.log
Plugins selected: Authenticator nginx, Installer nginx
Enter email address (used for urgent renewal and security notices) (Enter 'c' to
cancel): example@unixlinux.online

- - - - - - - - - - - - - - - - - - - - - - - - - - - - - - - - - - - - - - - -
Please read the Terms of Service at
https://letsencrypt.org/documents/LE-SA-v1.2-November-15-2017.pdf. You must
agree in order to register with the ACME server at
https://acme-v02.api.letsencrypt.org/directory
- - - - - - - - - - - - - - - - - - - - - - - - - - - - - - - - - - - - - - - -
(A)gree/(C)ancel: A

- - - - - - - - - - - - - - - - - - - - - - - - - - - - - - - - - - - - - - - -
Would you be willing to share your email address with the Electronic Frontier
Foundation, a founding partner of the Let's Encrypt project and the non-profit
organization that develops Certbot? We'd like to send you email about our work
encrypting the web, EFF news, campaigns, and ways to support digital freedom.
- - - - - - - - - - - - - - - - - - - - - - - - - - - - - - - - - - - - - - - -
(Y)es/(N)o: N
Geben Sie N ein und drücken Sie Enter weitermachen. Sie sollten die folgende Ausgabe sehen:
Obtaining a new certificate
Performing the following challenges:
http-01 challenge for example.com
Waiting for verification...
Cleaning up challenges
Deploying Certificate to VirtualHost /etc/nginx/sites-enabled/example.com.conf

Please choose whether or not to redirect HTTP traffic to HTTPS, removing HTTP access.
- - - - - - - - - - - - - - - - - - - - - - - - - - - - - - - - - - - - - - - -
1: No redirect - Make no further changes to the webserver configuration.
2: Redirect - Make all requests redirect to secure HTTPS access. Choose this for
new sites, or if you're confident your site works on HTTPS. You can undo this
change by editing your web server's configuration.
- - - - - - - - - - - - - - - - - - - - - - - - - - - - - - - - - - - - - - - -
Select the appropriate number [1-2] then [enter] (press 'c' to cancel):
Here, you will need to select option 1 or 2. Option 1 only downloads the Let's Encrypt certificate and does not change your web server configuration file.
Option 2 will download the Let's Encrypt certificate and configure your webserver config file to redirect all requests to secure HTTPS access.

Please select option 2 and hit Enter. Once the installation has been completed successfully, you should see the following output:

Redirecting all traffic on port 80 to ssl in /etc/nginx/sites-enabled/example.com.conf

- - - - - - - - - - - - - - - - - - - - - - - - - - - - - - - - - - - - - - - -
Congratulations! You have successfully enabled https://example.com

You should test your configuration at:
https://www.ssllabs.com/ssltest/analyze.html?d=example.com
- - - - - - - - - - - - - - - - - - - - - - - - - - - - - - - - - - - - - - - -

IMPORTANT NOTES:
- Congratulations! Your certificate and chain have been saved at:
/etc/letsencrypt/live/example.com/fullchain.pem
Your key file has been saved at:
/etc/letsencrypt/live/example.com/privkey.pem
Your cert will expire on 2019-11-17. To obtain a new or tweaked
version of this certificate in the future, simply run certbot again
with the "certonly" option. To non-interactively renew *all* of
your certificates, run "certbot renew"
- Your account credentials have been saved in your Certbot
configuration directory at /etc/letsencrypt. You should make a
secure backup of this folder now. This configuration directory will
also contain certificates and private keys obtained by Certbot so
making regular backups of this folder is ideal.
- If you like Certbot, please consider supporting our work by:

Donating to ISRG / Let's Encrypt: https://letsencrypt.org/donate
Donating to EFF: https://eff.org/donate-le
Öffnen Sie nun Ihren Webbrowser und geben Sie die URL https://example.com ein. Sie werden feststellen, dass dies anzeigt, dass Ihre Website gesichert ist.
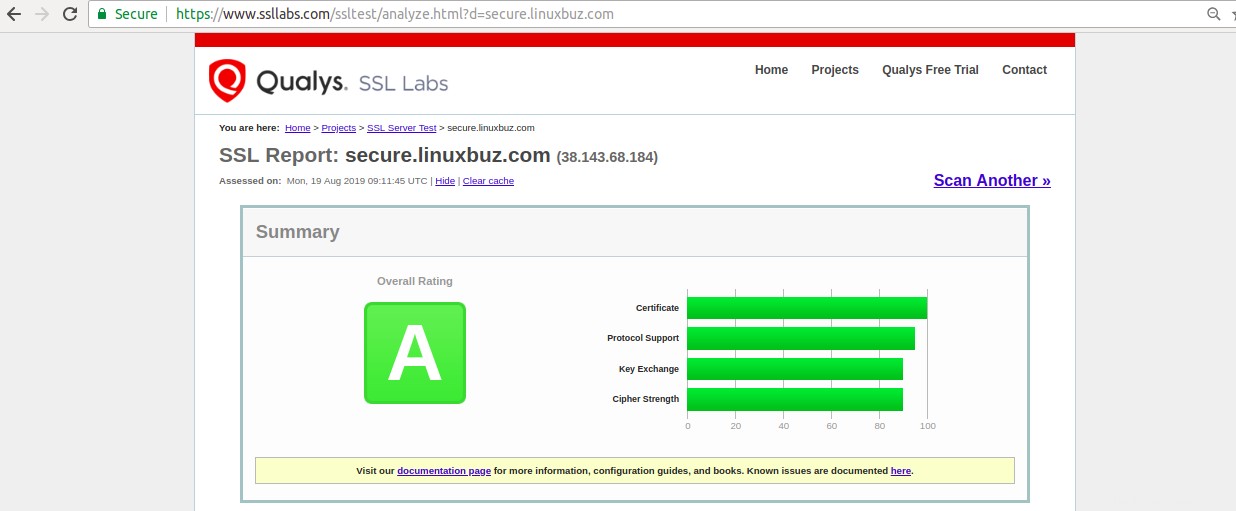
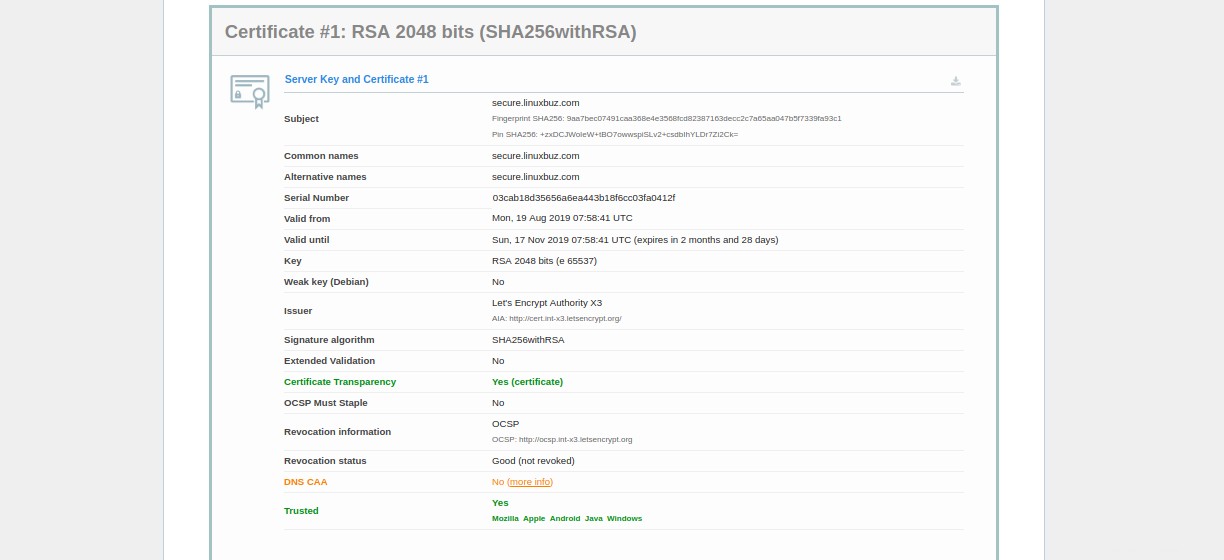
In der Zwischenzeit können Sie Ihren Server auch mit dem SSL Labs Server Test testen:
Schritt 5 – Einrichten der automatischen Erneuerung des SSL-Zertifikats von Let’s Encrypt
Sie können die automatische Verlängerung einrichten, indem Sie die Crontab-Datei wie unten gezeigt bearbeiten:
crontab -e
Fügen Sie die folgende Zeile hinzu:
12 8 * * * root /usr/bin/certbot renew >/dev/null 2>&1
Speichern und schließen Sie die Datei, wenn Sie fertig sind.
Sie können das SSL-Zertifikat auch manuell mit dem folgenden Befehl erneuern:
certbot renew --dry-run
Wenn Sie eine Fehlermeldung erhalten, verlängert certbot das Zertifikat für Ihre Website automatisch. Wenn die automatische Verlängerung fehlgeschlagen ist, werden Sie an die angegebene E-Mail-Adresse benachrichtigt.
Schlussfolgerung
Im obigen Artikel haben Sie gelernt, wie Sie einen LEMP-Server mit Let’s Encrypt Free SSL unter Ubuntu 18.04 sichern. Wenn Sie bereit sind, mit einem virtuellen privaten Server zum Hosten Ihrer Websites zu beginnen, besuchen Sie die VPS-Hosting-Seite von Atlantic.Net, um ein für Sie geeignetes Hosting-Paket zu finden.