LAMP ist eine kostenlose Open-Source-Webentwicklungsplattform, die zum Hosten dynamischer und leistungsstarker Websites verwendet wird. Es besteht aus vier Open-Source-Komponenten:Linux, Apache, MySQL/MariaDB und PHP. LAMP verwendet Linux als Betriebssystem, Apache als Webserver, MySQL/MariaDB als Datenbank und PHP als Skriptsprache.
In diesem Tutorial erklären wir, wie man LAMP installiert und mit Let’s Encrypt Free SSL auf Ubuntu 18.04 sichert.
Voraussetzungen
- Ein frisches Ubuntu 18.04 VPS auf der Atlantic.Net Cloud Platform.
- Ein gültiger Domänenname, der auf Ihre Server-IP-Adresse verweist. In diesem Tutorial verwenden wir example.com als Domain.
Schritt 1 – Erstellen Sie einen Atlantic.Net Cloud-Server
Melden Sie sich zunächst bei Ihrem Atlantic.Net Cloud Server an. Erstellen Sie einen neuen Server mit Ubuntu 18.04 als Betriebssystem und mindestens 2 GB RAM. Stellen Sie über SSH eine Verbindung zu Ihrem Cloud-Server her und melden Sie sich mit den oben auf der Seite hervorgehobenen Anmeldeinformationen an.
Sobald Sie sich bei Ihrem Ubuntu 18.04-Server angemeldet haben, führen Sie den folgenden Befehl aus, um Ihr Basissystem mit den neuesten verfügbaren Paketen zu aktualisieren.
apt-get update -y
Schritt 2 – Apache-Webserver installieren
Installieren Sie zuerst den Apache-Webserver mit dem folgenden Befehl:
apt-get install apache2 -y
Starten Sie nach Abschluss der Installation den Apache-Dienst und aktivieren Sie ihn nach dem Systemneustart mit dem folgenden Befehl:
systemctl start apache2
systemctl enable apache2
Als nächstes überprüfen Sie den Apache-Webserver mit dem folgenden Befehl:
systemctl status apache2
Der Apache-Webserver läuft jetzt und lauscht auf Port 80. Öffnen Sie Ihren Webbrowser und geben Sie die URL http://your-server-ip ein. Sie sollten die Apache-Standardseite im folgenden Bildschirm sehen:
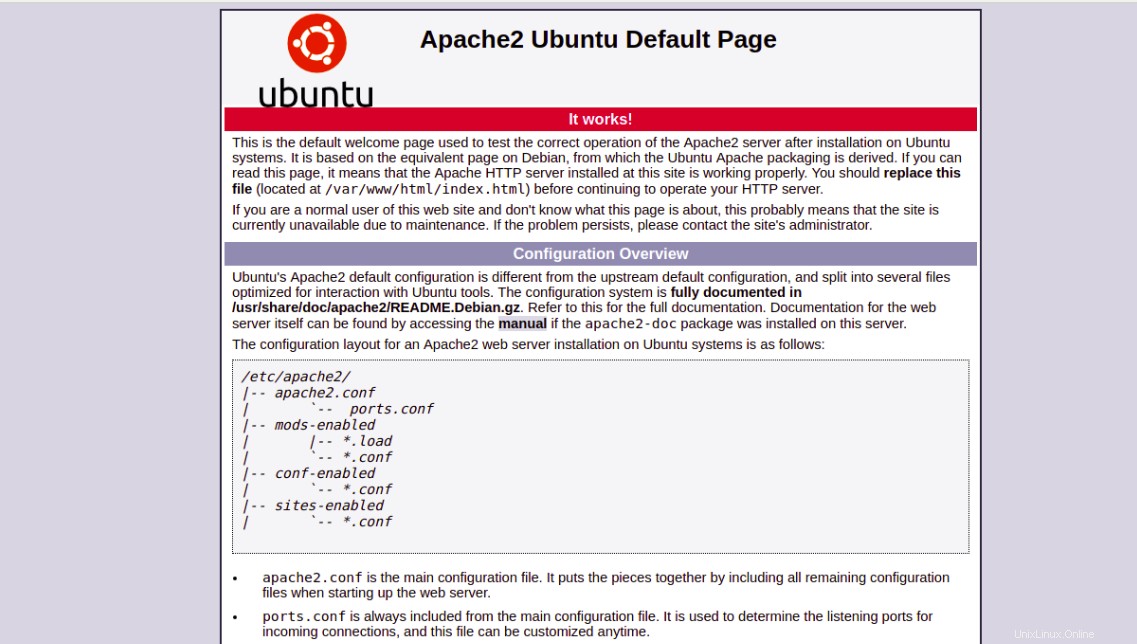
Das bedeutet, dass der Apache-Webserver wie erwartet funktioniert.
Schritt 3 – Installation des MariaDB-Datenbankservers
MariaDB ist der beliebteste Fork des relationalen Datenbankverwaltungssystems MySQL. Sie können es installieren, indem Sie den folgenden Befehl ausführen:
apt-get install mariadb-server mariadb-client -y
Starten Sie nach der Installation den MariaDB-Dienst und aktivieren Sie ihn nach dem Systemneustart mit dem folgenden Befehl:
systemctl start mariadb
systemctl enable mariadb
mysql_secure_installation
Dieses Skript setzt das Root-Passwort, entfernt anonyme Benutzer, verbietet die Root-Anmeldung aus der Ferne und entfernt die Testdatenbank und den Zugriff darauf, wie unten gezeigt:
Enter current password for root (enter for none): Press the Enter key
Set root password? [Y/n]: Y
New password: Enter password
Re-enter new password: Repeat password
Remove anonymous users? [Y/n]: Y
Disallow root login remotely? [Y/n]: Y
Remove test database and access to it? [Y/n]:  Y
Reload privilege tables now? [Y/n]:  Y
Schritt 4 – Installation von PHP
apt-get install php php-cli php-mysql php-curl php-zip libapache2-mod-php -y
Sobald alle Pakete installiert sind, öffnen Sie Ihre php.ini-Datei und passen Sie einige erforderliche Einstellungen an:
nano /etc/php/7.2/apache2/php.ini
Ändern Sie die folgenden Zeilen. Die folgenden Werte sind großartige Einstellungen für eine LAMP-Umgebung:
memory_limit = 256M
upload_max_filesize = 100M
max_execution_time = 360
date.timezone = America/Chicago
Speichern und schließen Sie die Datei. Starten Sie dann den Apache-Webserver neu, um die Konfiguration zu übernehmen.
systemctl restart apache2
Erstellen Sie als Nächstes eine info.php im Stammverzeichnis Ihres Apache-Dokuments, um PHP mit Apache zu testen:
nano /var/www/html/info.php
Fügen Sie die folgende Zeile hinzu:
<?php phpinfo( ); ?>
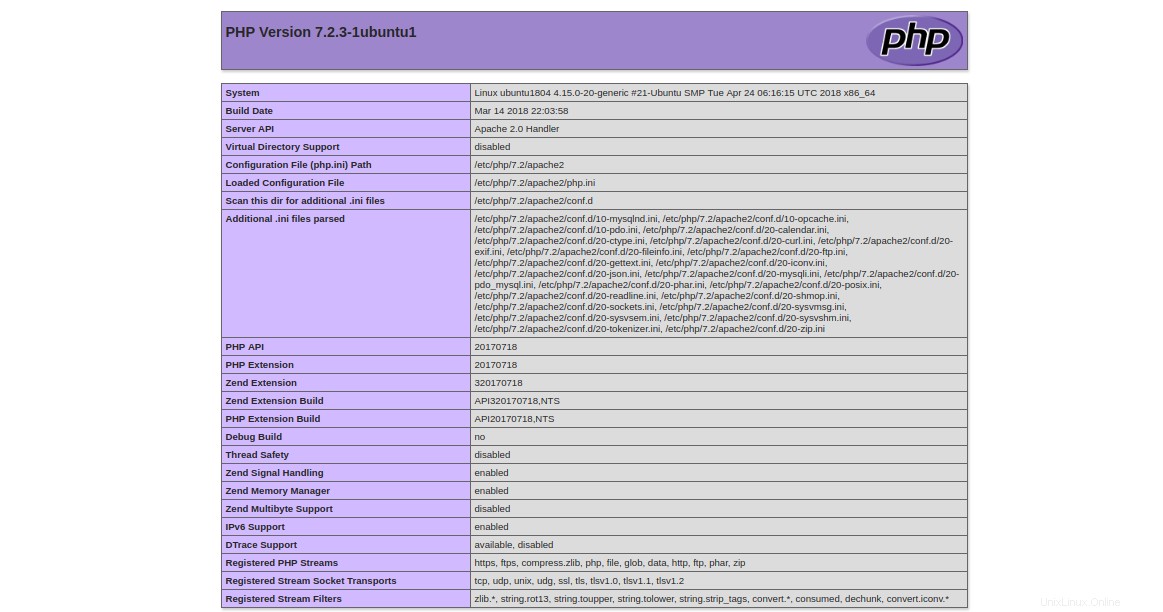
Speichern und schließen Sie die Datei. Öffnen Sie dann Ihren Webbrowser und besuchen Sie die URL http://your-server-ip/info.php. Sie sollten die im folgenden Bildschirm dargestellte Standard-PHP-Testseite sehen.
Nach dem Testen wird aus Sicherheitsgründen empfohlen, die Datei info.php zu entfernen.
rm -rf /var/www/html/info.php
Schritt 5 – Erstellen eines virtuellen Hosts
Erstellen Sie zunächst eine index.html-Datei für Ihre Domain example.com.
mkdir /var/www/html/example.com
nano /var/www/html/example.com/index.html
Fügen Sie die folgenden Zeilen hinzu:
<html>
<title>example.com</title>
<h1>Welcome to example.com Website</h1>
<p>This is my LAMP server</p>
</html>
Speichern und schließen Sie die Datei. Ändern Sie dann den Eigentümer des Verzeichnisses example.com und erteilen Sie die erforderlichen Berechtigungen:
chown -R www-data:www-data /var/www/html/example.com
chmod -R 755 /var/www/html/example.com
Als Nächstes müssen Sie eine Konfigurationsdatei für den virtuellen Apache-Host für Ihre Domäne, example.com, erstellen.
nano /etc/apache2/sites-available/example.com.conf
Fügen Sie die folgenden Zeilen hinzu:
<VirtualHost *:80>
    ServerAdmin example@unixlinux.online
    ServerName example.com
    DocumentRoot /var/www/html/example.com
    DirectoryIndex index.html
    ErrorLog ${APACHE_LOG_DIR}/example.com_error.log
    CustomLog ${APACHE_LOG_DIR}/example.com_access.log combined
</VirtualHost>
Speichern und schließen Sie die Datei, wenn Sie fertig sind.
Hier ist eine kurze Erklärung jedes Parameters in der obigen Datei:
- ServerAdmin: Geben Sie eine E-Mail-Adresse des Serveradministrators an.
- Servername: Domänenname, der Ihrer Server-IP-Adresse zugeordnet ist.
- DocumentRoot: Geben Sie den Speicherort des Inhalts für die Website an.
- Verzeichnisindex: Geben Sie eine Standardseite an, die angezeigt werden soll, wenn auf ein Verzeichnis zugegriffen wird.
- Fehlerprotokoll: Speicherort der Fehlerprotokolldatei.
- Benutzerdefiniertes Protokoll: Speicherort der Zugriffsprotokolldatei.
Aktivieren Sie als Nächstes den virtuellen Host und starten Sie den Apache-Webdienst neu, um die Konfiguration zu übernehmen:
a2ensite example.com
systemctl restart apache2
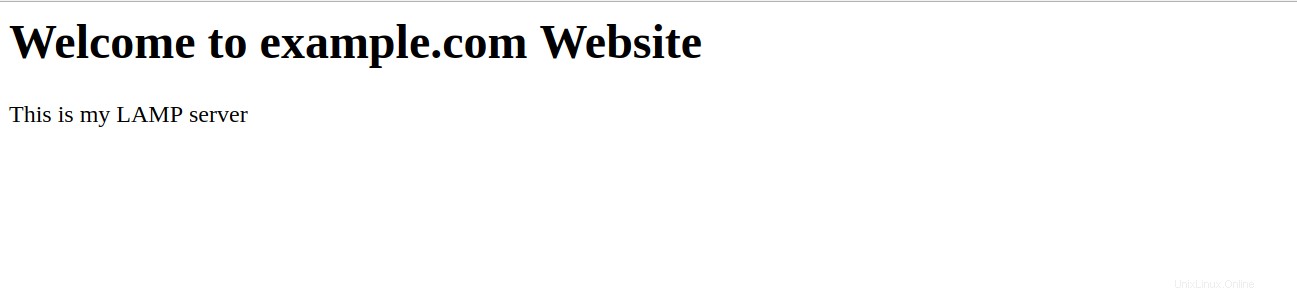
Um Ihre Website zu testen, öffnen Sie Ihren Webbrowser und geben Sie die URL http://example.com ein. Sie werden auf die folgende Seite weitergeleitet:
Schritt 6 – Sichern Sie Ihre Website mit Let’s Encrypt
Zu diesem Zeitpunkt funktioniert Ihre Website gut, ist aber nicht gesichert. Sie müssen es mit dem kostenlosen SSL von Let’s Encrypt sichern.
Zuerst müssen Sie einen Certbot-Client auf Ihrem Server installieren. Certbot ist ein benutzerfreundlicher Client, mit dem Sie ein Zertifikat von Let’s Encrypt herunterladen und den Apache-Webserver für die Verwendung dieses Zertifikats konfigurieren können.
apt-get install software-properties-common apt-transport-https ca-certificates -y
add-apt-repository ppa:certbot/certbot
Sobald das Repository hinzugefügt wurde, aktualisieren Sie das Repository und installieren Sie Certbot mit dem folgenden Befehl:
apt-get update -y
apt-get install certbot python-certbot-apache -y
Führen Sie als Nächstes den folgenden Befehl aus, um das kostenlose SSL von Let’s Encrypt für die Website example.com zu installieren:
certbot --apache -d example.com
Sie werden aufgefordert, Ihre E-Mail-Adresse anzugeben und den Nutzungsbedingungen zuzustimmen, wie unten gezeigt:
Saving debug log to /var/log/letsencrypt/letsencrypt.log
Plugins selected: Authenticator apache, Installer apache
Enter email address (used for urgent renewal and security notices) (Enter 'c' to
cancel): example@unixlinux.online

- - - - - - - - - - - - - - - - - - - - - - - - - - - - - - - - - - - - - - - -
Please read the Terms of Service at
https://letsencrypt.org/documents/LE-SA-v1.2-November-15-2017.pdf. You must
agree in order to register with the ACME server at
https://acme-v02.api.letsencrypt.org/directory
- - - - - - - - - - - - - - - - - - - - - - - - - - - - - - - - - - - - - - - -
(A)gree/(C)ancel: A

- - - - - - - - - - - - - - - - - - - - - - - - - - - - - - - - - - - - - - - -
Would you be willing to share your email address with the Electronic Frontier
Foundation, a founding partner of the Let's Encrypt project and the non-profit
organization that develops Certbot? We'd like to send you email about our work
encrypting the web, EFF news, campaigns, and ways to support digital freedom.
- - - - - - - - - - - - - - - - - - - - - - - - - - - - - - - - - - - - - - - -
(Y)es/(N)o: Y
Obtaining a new certificate
Performing the following challenges:
http-01 challenge for example.com
Enabled Apache rewrite module
Waiting for verification...
Cleaning up challenges
Created an SSL vhost at /etc/apache2/sites-available/example.com-le-ssl.conf
Deploying Certificate to VirtualHost /etc/apache2/sites-available/example.com-le-ssl.conf
Enabling available site: /etc/apache2/sites-available/example.com-le-ssl.conf

Please choose whether or not to redirect HTTP traffic to HTTPS, removing HTTP access.
- - - - - - - - - - - - - - - - - - - - - - - - - - - - - - - - - - - - - - - -
1: No redirect - Make no further changes to the webserver configuration.
2: Redirect - Make all requests redirect to secure HTTPS access. Choose this for
new sites, or if you're confident your site works on HTTPS. You can undo this
change by editing your web server's configuration.
- - - - - - - - - - - - - - - - - - - - - - - - - - - - - - - - - - - - - - - -
Select the appropriate number [1-2] then [enter] (press 'c' to cancel): 2
Wählen Sie als Nächstes Option 2 und drücken Sie die Eingabetaste, um das Let’s Encrypt-Zertifikat herunterzuladen und den Apache-Webserver für die Verwendung dieses Zertifikats zu konfigurieren. Sobald der Installationsvorgang abgeschlossen ist, sollten Sie die folgende Ausgabe sehen:
Enabled Apache rewrite module
Redirecting vhost in /etc/apache2/sites-enabled/example.com.conf to ssl vhost in /etc/apache2/sites-available/example.com-le-ssl.conf

- - - - - - - - - - - - - - - - - - - - - - - - - - - - - - - - - - - - - - - -
Congratulations! You have successfully enabled https://example.com

You should test your configuration at:
https://www.ssllabs.com/ssltest/analyze.html?d=example.com
- - - - - - - - - - - - - - - - - - - - - - - - - - - - - - - - - - - - - - - -

IMPORTANT NOTES:
 - Congratulations! Your certificate and chain have been saved at:
   /etc/letsencrypt/live/example.com/fullchain.pem
   Your key file has been saved at:
   /etc/letsencrypt/live/example.com/privkey.pem
   Your cert will expire on 2019-10-22. To obtain a new or tweaked
   version of this certificate in the future, simply run certbot again
   with the "certonly" option. To non-interactively renew *all* of
   your certificates, run "certbot renew"
 - Your account credentials have been saved in your Certbot
   configuration directory at /etc/letsencrypt. You should make a
   secure backup of this folder now. This configuration directory will
   also contain certificates and private keys obtained by Certbot so
   making regular backups of this folder is ideal.
 - If you like Certbot, please consider supporting our work by:

   Donating to ISRG / Let's Encrypt:   https://letsencrypt.org/donate
   Donating to EFF:                    https://eff.org/donate-le
Öffnen Sie nun Ihren Webbrowser und greifen Sie mit der URL https://example.com.
sicher auf Ihre Website zuSchlussfolgerung
Im obigen Tutorial haben wir gelernt, wie man den LAMP-Server auf Ubuntu 18.04 VPS installiert. Wir haben auch gelernt, wie man einen LAMP-Server mit Let’s Encrypt Free SSL sichert. Sie können jetzt ganz einfach einen LAMP-Server installieren und mit Let’s Encrypt Free SSL auf Ubuntu 18.04 sichern, indem Sie unsere VPS-Hosting-Dienste verwenden.