Was ist ein LAMP-Stack?
Der LAMP-Stack ist eine Kombination aus Betriebssystem und Open-Source-Software-Stack, die für die anfängliche Einrichtung eines Servers von Bedeutung sind. Das Akronym steht für Linux, Apache HTTP-Server, MySQL/MariaDB und PHP/Perl/Python. Dieser Artikel führt Sie durch die Schritte zur Installation von Apache HTTP-Server, MySQL und PHP auf Ihrem Server, vorausgesetzt, dass das Betriebssystem CentOS 6 bereits darauf installiert ist.
VoraussetzungBevor Sie diesem Artikel folgen, müssen Sie auf Ihrem Server ein Nicht-Root-Benutzerkonto eingerichtet haben.
Installieren des Apache HTTP-Servers
Apache oder Apache HTTP ist der weltweit am häufigsten verwendete Webserver und macht derzeit mehr als 50 % des Marktanteils aus. Führen Sie die folgenden Schritte aus, um Apache zu installieren:
Schritt 1: Verwenden Sie die folgenden Befehle im Terminal
sudo yum update
Installieren Sie nach Abschluss des Aktualisierungsvorgangs den Apache HTTP-Server mit dem Befehl.
sudo yum install httpd
Sie erhalten eine Authentifizierungsmeldung, akzeptieren diese mit der Eingabe von Y und fahren mit der Installation fort. Starten Sie dann Ihren auf dem VPS installierten Webserver, indem Sie den Befehl
ausführensudo service httpd start
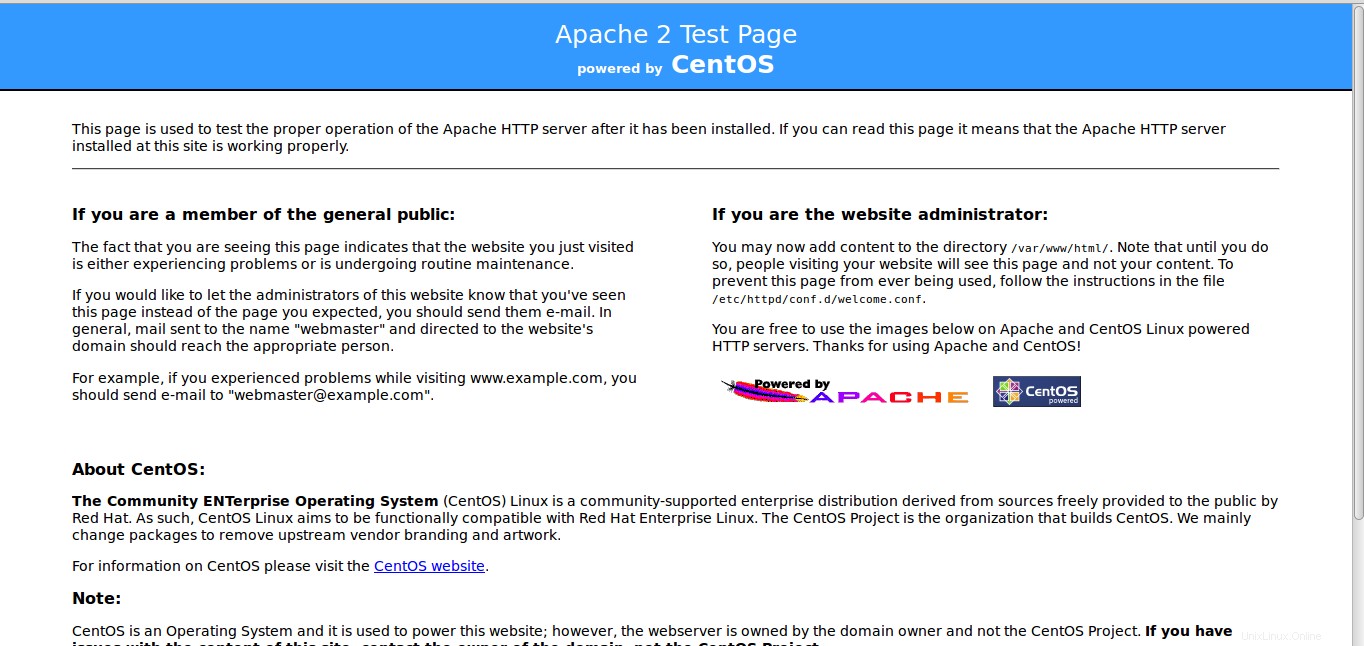
Schritt 2: Überprüfen Sie die Installation, indem Sie die folgende URL in Ihren Webbrowser eingeben.
http://server_ip_address/
Wenn der Webserver ordnungsgemäß installiert wurde, leitet Sie Ihr Webbrowser zu einer Webseite weiter, die etwa so aussieht:
Installieren von MySQL
MySQL ist eine Datenbankverwaltungssystemsoftware, die verwendet wird, um Datenbanken auf DB-Servern zu verwalten, zu speichern und abzurufen. Führen Sie die folgenden Schritte aus, um MySQL zu installieren:
Schritt 1: Geben Sie den Befehl im Terminal
einsudo yum install mysql-server
Während die Installation läuft, werden Sie um Erlaubnis gefragt, geben Sie y ein und fahren Sie mit der Installation fort. Wenn die Installation erfolgreich abgeschlossen ist, können Sie mysql starten.
sudo service mysqld start
Schritt 2: Führen Sie den folgenden Befehl aus, um mehrere Sicherheitsprobleme mit der standardmäßigen MySQL-Installation zu beheben.
sudo /usr/bin/mysql_secure_installation
Sie werden aufgefordert, das Root-Passwort einzugeben, da Sie gerade MySQL installiert haben, werden Sie kein Root-Passwort haben. Drücken Sie also die Eingabetaste und fahren Sie fort.
Sie haben die Wahl, das MySQL-Root-Passwort zu ändern, anonyme Benutzerkonten zu entfernen, Root-Anmeldungen außerhalb von localhost zu deaktivieren und Testdatenbanken zu entfernen. Es wird empfohlen, diese Optionen mit Ja zu beantworten und mit dem Vorgang fortzufahren.
Enter current password for root (enter for none):
OK, successfully used password, moving on...

Setting the root password ensures that nobody can log into the MySQL
root user without the proper authorisation.

Set root password? [Y/n] Y
New password:
Re-enter new password:
Password updated successfully!
Reloading privilege tables..
 ... Success!


By default, a MySQL installation has an anonymous user, allowing anyone
to log into MySQL without having to have a user account created for
them.  This is intended only for testing, and to make the installation
go a bit smoother.  You should remove them before moving into a
production environment.

Remove anonymous users? [Y/n] Y
 ... Success!

Normally, root should only be allowed to connect from 'localhost'.  This
ensures that someone cannot guess at the root password from the network.

Disallow root login remotely? [Y/n] Y
 ... Success!

By default, MySQL comes with a database named 'test' that anyone can
access.  This is also intended only for testing, and should be removed
before moving into a production environment.

Remove test database and access to it? [Y/n] Y
 - Dropping test database...
 ... Success!
 - Removing privileges on test database...
 ... Success!

Reloading the privilege tables will ensure that all changes made so far
will take effect immediately.

Reload privilege tables now? [Y/n] Y
 ... Success!

Cleaning up...


All done!  If you've completed all of the above steps, your MySQL
installation should now be secure.

Thanks for using MySQL!
Installieren von PHP
PHP ist eine Skriptsprache, die beim Webdesign verwendet wird, um dynamische Webseiten zu erstellen.
Schritt 1: Verwenden Sie den folgenden Befehl im Terminal
sudo yum install php php-mysql
Sie erhalten eine Eingabeaufforderung, geben Sie y ein und beenden Sie die Installation.
Schritt 2: Es sind viele zusätzliche PHP-Module verfügbar, die einfach installiert werden können. Auch wenn dies ein optionaler Schritt ist, befolgen Sie die nachstehenden Schritte, wenn Sie zusätzliche Module installieren möchten.
Um die verfügbaren Module zu prüfen, geben Sie im Terminal den Befehl
einyum search php-
Output:

Loaded plugins: fastestmirror
Loading mirror speeds from cached hostfile
 * base: mirror.fibergrid.in
 * extras: mirror.fibergrid.in
 * updates: mirror.fibergrid.in
========================================================================== N/S Matched: php- ===========================================================================
php-bcmath.x86_64 : A module for PHP applications for using the bcmath library
php-cli.x86_64 : Command-line interface for PHP
php-common.x86_64 : Common files for PHP
php-dba.x86_64 : A database abstraction layer module for PHP applications
php-devel.x86_64 : Files needed for building PHP extensions
php-embedded.x86_64 : PHP library for embedding in applications
php-enchant.x86_64 : Human Language and Character Encoding Support
php-fpm.x86_64 : PHP FastCGI Process Manager
php-gd.x86_64 : A module for PHP applications for using the gd graphics library
php-imap.x86_64 : A module for PHP applications that use IMAP
php-intl.x86_64 : Internationalization extension for PHP applications
php-ldap.x86_64 : A module for PHP applications that use LDAP
php-mbstring.x86_64 : A module for PHP applications which need multi-byte string handling
php-mysql.x86_64 : A module for PHP applications that use MySQL databases
php-odbc.x86_64 : A module for PHP applications that use ODBC databases
php-pdo.x86_64 : A database access abstraction module for PHP applications
php-pear.noarch : PHP Extension and Application Repository framework
php-pecl-apc.x86_64 : APC caches and optimizes PHP intermediate code
php-pecl-apc-devel.i686 : APC developer files (header)
php-pecl-apc-devel.x86_64 : APC developer files (header)
php-pecl-memcache.x86_64 : Extension to work with the Memcached caching daemon
php-pgsql.x86_64 : A PostgreSQL database module for PHP
php-process.x86_64 : Modules for PHP script using system process interfaces
php-pspell.x86_64 : A module for PHP applications for using pspell interfaces
php-recode.x86_64 : A module for PHP applications for using the recode library
php-snmp.x86_64 : A module for PHP applications that query SNMP-managed devices
php-soap.x86_64 : A module for PHP applications that use the SOAP protocol
php-tidy.x86_64 : Standard PHP module provides tidy library support
php-xml.x86_64 : A module for PHP applications which use XML
php-xmlrpc.x86_64 : A module for PHP applications which use the XML-RPC protocol
php-zts.x86_64 : Thread-safe PHP interpreter for use with the Apache HTTP Server

  Name and summary matches only, use "search all" for everything.
Um die Details des Pakets oder Moduls zu erfahren, geben Sie Folgendes ein
yum info module-name
Geben Sie anstelle von module-name den Namen des entsprechenden Moduls ein. Zum Beispiel
yum info php-bcmath
Um dieses Paket zu installieren, geben Sie Folgendes ein
sudo yum install php-bcmath
Sie können entsprechend Ihren Anforderungen mehrere PHP-Pakete installieren.
Wir sollten die Prozesse auch so einstellen, dass sie automatisch ausgeführt werden, wenn der Server bootet (php wird automatisch ausgeführt, sobald Apache gestartet wird):
sudo chkconfig httpd on
sudo chkconfig mysqld on
Schritt 3: Um zu überprüfen, ob PHP richtig in Ihrem VPS installiert ist, erstellen Sie eine Datei mit dem folgenden Befehl
sudo vim /var/www/html/info.php
Drücken Sie die Taste I, um die Datei zu bearbeiten, geben Sie den folgenden Inhalt in die Datei ein und speichern Sie sie und verlassen Sie sie mit ESC gefolgt von :wq! Drücken Sie dann Enter.
<?php
phpinfo();
?>
Neustart des Webservers
Der letzte Schritt bei der Installation des LAMP-Stacks auf CentOS 6 besteht darin, den Apacheweb-Server neu zu starten. Dies geschieht, damit der Webserver die am Server vorgenommenen Änderungen erkennt.
sudo service httpd restart
Dadurch wird der Server sofort neu gestartet und los geht's. Sie haben jetzt den LAMP-Stack auf Ihrem Server installiert, auf dem CentOS 6 ausgeführt wird.
Sie können die Installation von PHP überprüfen, indem Sie die folgende URL in Ihren Webbrowser eingeben.
http://server_ip_address/info.php
.