Dies ist ein "Kopieren und Einfügen" Anleitung! Der einfachste Weg, diesem Tutorial zu folgen, besteht darin, einen Befehlszeilen-Client/SSH-Client (wie PuTTY für Windows) zu verwenden und die Befehle einfach zu kopieren und einzufügen (außer wenn Sie eigene Informationen wie IP-Adressen, Hostnamen, Passwörter usw. angeben müssen). ). Dies hilft, Tippfehler zu vermeiden.
ISP-ServerSetup -Ubuntu 5.10 "Breezy Badger"
Version 1.0
Autor:Till Brehm
Dies ist eine detaillierte Beschreibung der Schritte zur Einrichtung eines Ubuntu basierender Server (Ubuntu 5.10 - Breezy Badger), der alle von ISPs und Hostern benötigten Dienste anbietet (Webserver (SSL-fähig), Mailserver (mit SMTP-AUTH und TLS!), DNS-Server, FTP-Server, MySQL-Server, POP3/POP3s/ IMAP/IMAPs, Kontingent, Firewall usw.).
Ich werde die folgende Software verwenden:
- Webserver:Apache 2.0.x
- Mail-Server:Postfix (einfacher zu konfigurieren als sendmail; hat eine kürzere Historie von Sicherheitslücken als sendmail)
- DNS-Server:BIND9
- FTP-Server:proftpd
- POP3/POP3s/IMAP/IMAPs:In diesem Beispiel können Sie zwischen dem traditionellen UNIX-Postfachformat wählen (wir verwenden dann ipopd/ uw-imapd) oder das Maildir-Format (in diesem Fall verwenden wir Courier-POP3/Courier-IMAP).
- Webalizer für Website-Statistiken
Am Ende sollten Sie ein System haben, das zuverlässig funktioniert und bereit ist für das kostenlose Webhosting-Control-Panel ISPConfig (d.h. ISPConfig läuft darauf aus dem Feld).
Ich möchte zuerst sagen, dass dies nicht die einzige Möglichkeit ist, ein solches System einzurichten. Es gibt viele Wege, dieses Ziel zu erreichen, aber ich gehe diesen Weg. Ich gebe keine Garantie dafür, dass dies bei Ihnen funktioniert!
Anforderungen
Um ein solches System zu installieren, benötigen Sie Folgendes:
- Eine Ubuntu-Installations-CD (hier erhältlich:http://www.ubuntu.com/download/)
- Eine Internetverbindung, da ich in diesem Dokument eine Netzwerkinstallation beschreiben werde.
1 TheBase-System
Legen Sie Ihre Ubuntu-Installations-CD in Ihr System ein und booten Sie davon (geben Sie ein Server am Boot-Prompt, nur ein für Server geeignetes Basissystem zu installieren).
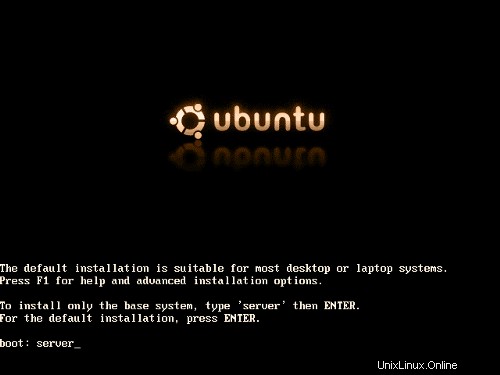
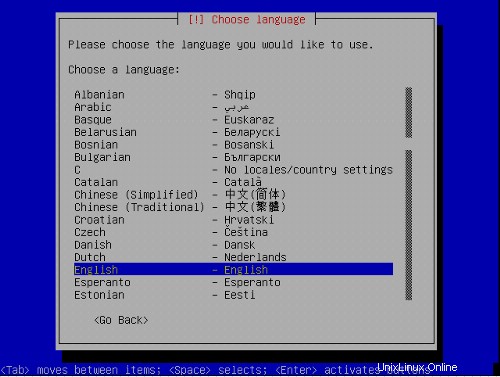
Die Installation beginnt, und zuerst müssen Sie Ihre Sprache auswählen:
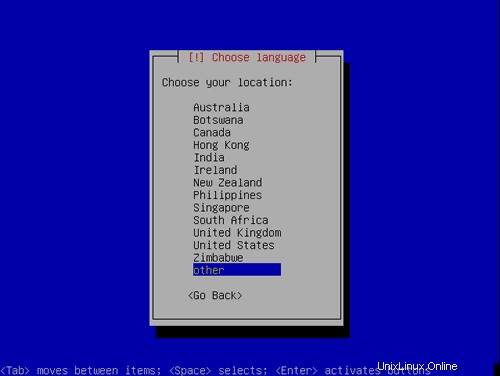
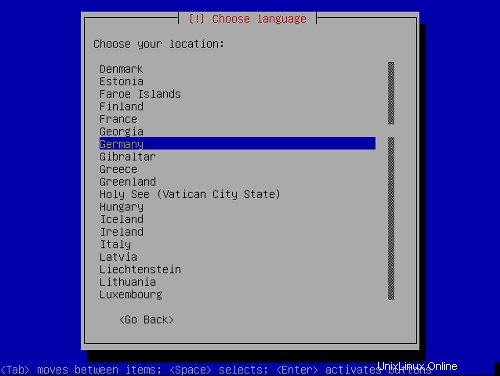
Wählen Sie Ihren Standort:
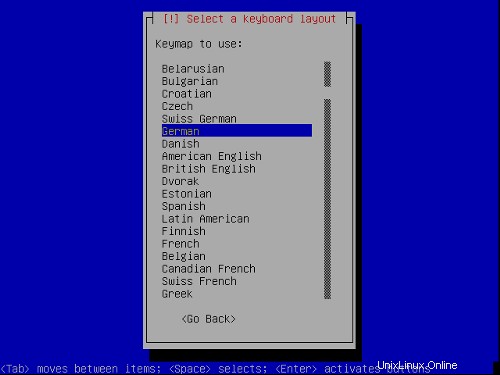
Wählen Sie ein Tastaturlayout:

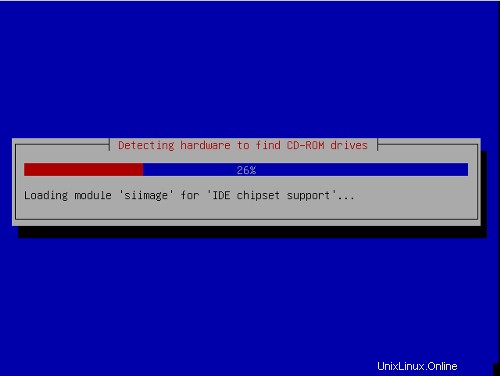
Die Hardwareerkennung startet:
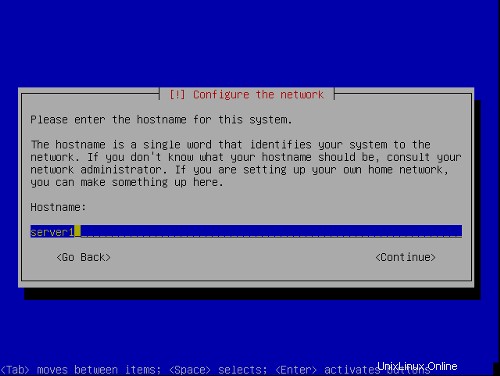
Geben Sie den Hostnamen ein. In diesem Beispiel heißt mein System server1 .beispiel.com , also gebe ich server1 ein :
Jetzt erstellen wir die Partitionen. Wählen Sie Partitionstabelle manuell bearbeiten . Wenn bereits einige Partitionen vorhanden sind, löschen Sie diese zuerst, indem Sie sie auswählen, die Eingabetaste drücken und dann Löschen auswählen.

Ich werde das folgende Partitionsschema verwenden:
/boot 50 MB
/swap 1 GB
/ 10 GB
/var der Rest der Festplatte
Erstellen einer Partition:Wählen Sie Ihre Festplatte (in meinem Fall SCSI1), drücken Sie die Eingabetaste, dann:

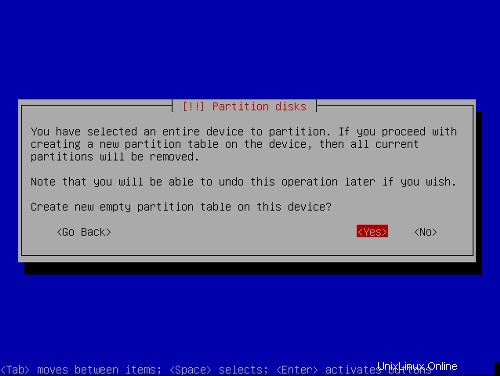
Erstellen einer Partitionstabelle:Wählen Sie FREIER SPEICHER , drücken Sie die Eingabetaste, dann:

1) Wählen Sie Neue Partition erstellen .
2) Geben Sie die Größe der Partition ein. Werte können in MB und GB oder Prozent (%) eingegeben werden
3) Partitionstyp auswählen:primary
4) Wählen Sie den Speicherort der Partition:Anfang
5) Ändern Sie Verwenden als :Ich verwende EXT3 für alle Partitionen außer der Swap-Partition, die vom Typ Swap ist.
6) Ändern:Wählen Sie den Einhängepunkt
7) Wählen Sie Partition eingerichtet
Wiederholen Sie dies für alle Partitionen in der obigen Partitionstabelle.
Jetzt sollte Ihre Partitionstabelle ungefähr so aussehen:
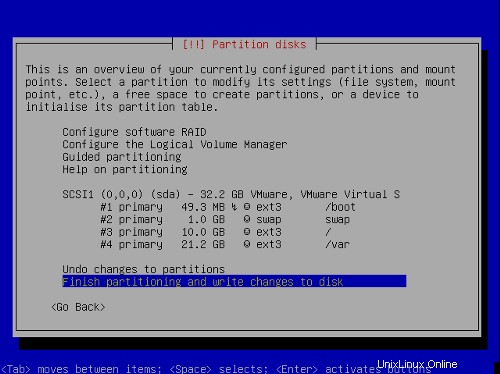
Wählen Sie Partitionierung beenden und Änderungen auf Festplatte schreiben , dann Ja ,um mit dem nächsten Schritt fortzufahren.
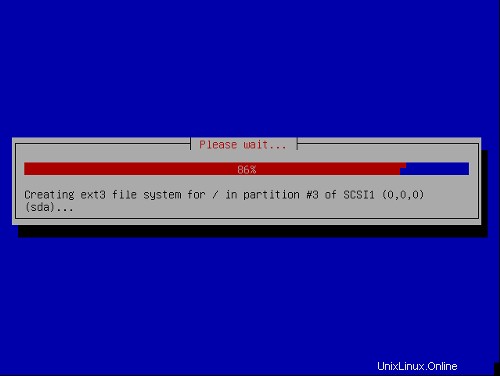
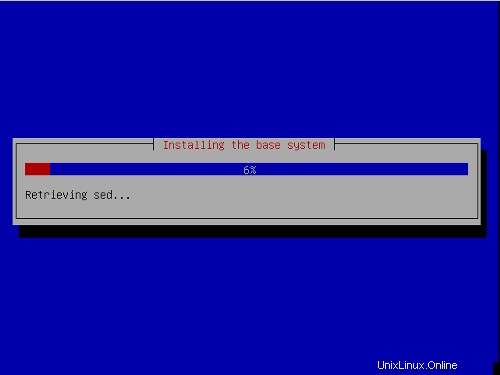
Nun wird das Basissystem installiert:
Konfigurieren Sie Ihre Zeitzone:

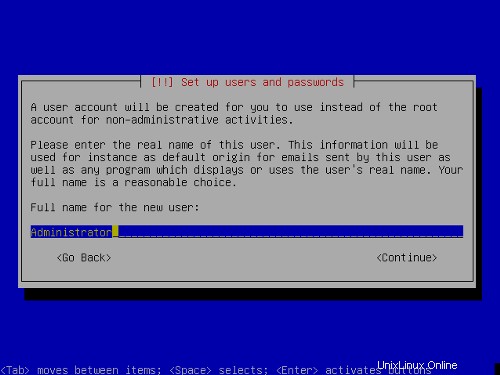
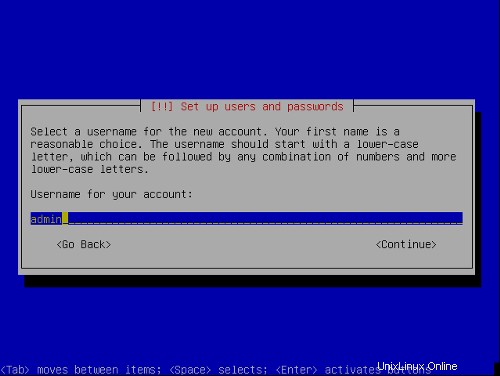
Einen Benutzer einrichten:

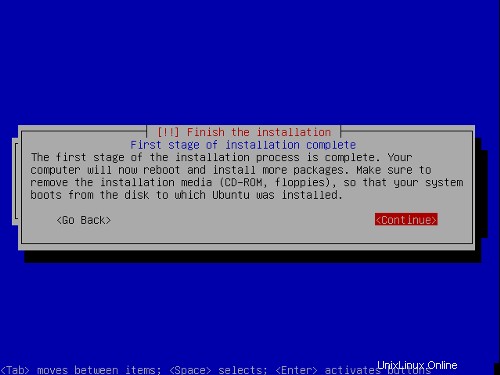
Die erste Phase des Installationsprozesses ist abgeschlossen und der Server bootet in das installierte Ubuntu-Linux.
2 Installation und Konfiguration des restlichen Systems
Root-Benutzer aktivieren
Jetzt kann ich mich mit dem oben eingegebenen Benutzernamen und Passwort anmelden. Zuerst aktiviere ich den Root-Benutzer, um die Installation zu vereinfachen. Sie können es später deaktivieren, wenn Sie möchten.
sudopasswd root
su
Jetzt sind wir als Root-Benutzer angemeldet.
Konfigurieren Sie TheNetwork
Da der Ubuntu-Installer unser System so konfiguriert hat, dass es seine Netzwerkeinstellungen über DHCP erhält, müssen wir das jetzt ändern, da ein Server eine statische IP-Adresse haben sollte . Bearbeiten Sie /etc/network/interfaces und passen Sie es an Ihre Bedürfnisse an (in diesem Beispiel-Setup verwende ich die IP-Adresse 192.168.0.100 ):
# This file describes the network interfaces available on your system |
Wenn Sie die IP-Adresse hinzufügen möchten 192.168.0.101 an die Schnittstelle eth0 Sie sollten die Datei wie folgt ändern:
# This file describes the network interfaces available on your system |
Starten Sie dann Ihr Netzwerk neu:
/etc/init.d/networkingrestart
Bearbeiten Sie /etc/hosts und fügen Sie Ihre neuen IP-Adressen hinzu:
127.0.0.1 localhost.localdomain localhost server1 |
Festlegen des Hostnamens
echo server1.example.com> /etc/hostname
/bin/hostname -F /etc/hostname
Bearbeiten Sie /etc/apt/sources.listUnd aktualisieren Sie Ihre Linux-Installation
Bearbeiten Sie /etc/apt/sources.list .So sollte es aussehen:
# deb cdrom:[Ubuntu 5.10 _Breezy Badger_ - Release i386 (20051012)]/ breezy main restricted |
apt-get update
apt-get upgrade
SSH-Daemon installieren
apt-get install sshopenssh-server
Software installieren/entfernen
Lassen Sie uns nun einige Software installieren, die wir später benötigen, und einige Pakete entfernen, die wir nicht benötigen:
apt-get install binutilscpp cpp-4.0 fetchmail flex gcc gcc-4.0 libarchive-zip-perl libc6-dev libcompress-zlib-perllibdb4.3 -dev libpcre3 libpopt-dev linux-kernel-headers lynx m4 make ncftp nmapenssl perl perl-modules unzip zip zlib1g-dev autoconf automake1.9 libtoolbison autotools-dev cpp g++ (in1 Zeile!!)
Quote
apt-get install quota
Bearbeiten Sie /etc/fstab so aussehen (ich habe ,usrquota,grpquota hinzugefügt auf die Partitionen mit dem Einhängepunkt / und /var ):
# /etc/fstab: static file system information. |
Führen Sie dann Folgendes aus:
touch /quota.user /quota.group
chmod 600 /quota.*
mount -o remount /
touch /var/quota.user /var/quota.group
chmod 600 /var/quota.*
mount -o remount /var
quotacheck -avugm
quotaon -avug
DNS-Server
apt-getinstall bind9
Aus Sicherheitsgründen möchten wir BIND chroot ausführen, daher müssen wir die folgenden Schritte ausführen:
/etc/init.d/bind9 stop
Bearbeiten Sie die Datei /etc/default/bind9 so dass der Daemon als nicht privilegierter Benutzer 'bind ',gechrootet nach /var/lib/named .Ändern Sie die Zeile:OPTS=" -ubind " sodass es lautet:OPTIONS="-u bind-t /var/lib/named" :
OPTIONS="-u bind -t /var/lib/named" |
Erstellen Sie die erforderlichen Verzeichnisse unter /var/lib :
mkdir -p /var/lib/named/etc
mkdir /var/lib/named/dev
mkdir -p /var/lib/named/var/cache/bind
mkdir -p /var/lib/named/var/run/bind/run
Verschieben Sie dann das Konfigurationsverzeichnis von /etc bis /var/lib/named/etc :
mv /etc/bind /var/lib/named/etc
Erstellen Sie einen symbolischen Link zum neuen Konfigurationsverzeichnis vom alten Speicherort (um Probleme zu vermeiden, wenn Bindis in Zukunft aktualisiert wird):
ln -s /var/lib/named/etc/bind/etc/bind
Null- und Zufallsgeräte erstellen und Berechtigungen der Verzeichnisse korrigieren:
mknod /var/lib/named/dev/nullc 1 3
mknod /var/lib/named/dev /random c 1 8
chmod 666 /var/lib/named/dev/null /var/lib/named/dev/random
chown -R bind:bind /var/lib/named/var/ *
chown -R bind:bind /var/lib/named/etc/bind
Wir müssen das Startskript ändern /etc/init.d/ sysklogd von sysklogd damit wir weiterhin wichtige Meldungen in den Systemprotokollen protokollieren können. Ändern Sie die Zeile: SYSLOGD="-u syslog" sodass es lautet:SYSLOGD="-u syslog -a /var/lib/named/dev/log" :
#! /bin/sh |
Starten Sie den Logging-Daemon neu:
/etc/init.d/sysklogd restart
Starten Sie BIND und überprüfen Sie /var/log/syslog für Fehler:
/etc/init.d/bind9 start
MySQL
apt-getinstall mysql-server mysql-client libmysqlclient12-dev
mysqladmin -u root-Passwortihrrootsql-Passwort
mysqladmin -h server1.example.com -u root-Passwort ihrrootsql-Passwort
Wenn Sie netstat-tap ausführen Sie sollten jetzt eine Zeile wie diese sehen:
tcp 0 0 localhost.localdo:mysql *:* LISTEN 2449/mysqld |
was bedeutet, dass MySQL über Port 3306 zugänglich ist. Sie können zum nächsten Abschnitt gehen (Postfix). Wenn Sie diese Zeile nicht sehen, bearbeiten Sie sie /etc/mysql/my.cnf und kommentieren Sie skip-networking aus :
# skip-networking |
Wenn Sie /etc/mysql/my.cnf bearbeiten müssten Sie müssen MySQL neu starten:
/etc/init.d/mysql restart
Postfix
Um Postfix mit SMTP-AUTH und TLS zu installieren, führen Sie die folgenden Schritte aus:
apt-get install postfixpostfix-tls libsasl2 sasl2-bin libsasl2-modules libdb3-util procmail (1 Zeile!)
dpkg-reconfigurepostfix
<- Internet Site
<- NONE
<- server1.example.com
<- server1.example.com, localhost.example.com, localhost
<- Nein
<- 127.0.0.0/8
<- 0
<- +
postconf -e 'smtpd_sasl_local_domain='
postconf -e 'smtpd_sasl_auth_enable =yes'
postconf -e 'smtpd_sasl_security_options =noanonymous'
postconf -e 'broken_sasl_auth_clients =yes'
postconf -e 'smtpd_recipient_restrictions =permission_sasl_authenticated,permit_mynetworks,reject_unauth_destination'
postconf -e 'inet_interfaces =all'
echo 'pwcheck_method:saslauthd'>> /etc/postfix/sasl/smtpd.conf
echo 'mech_list:plain login'>> /etc/postfix/sasl/smtpd.conf
mkdir /etc/postfix/ssl
cd /etc/postfix/ssl/
openssl genrsa - des3 -rand /etc/hosts -out smtpd.key 1024
chmod 600 smtpd.key
openssl req -new -key smtpd.key -out smtpd.csr
openssl x509 -req -days 3650 -in smtpd.csr -signkey smtpd.key -out smtpd.crt
openssl rsa -in smtpd.key -out smtpd.key.unencrypted
mv -f smtpd.key.unencrypted smtpd.key
openssl req -new -x509 -extensions v3_ca -keyout cakey.pem -out cacert.pem -days3650
postconf -e 'smtpd_tls_auth_only=no'
postconf -e 'smtp_use_tls =yes'
postconf - e 'smtpd_use_tls =yes'
postconf -e 'smtp_tls_note_starttls_offer =yes'
postconf -e 'smtpd_tls_key_file =/etc/postfix/ssl/smtpd.key'
postconf -e 'smtpd_tls_cert_file =/ etc/postfix/ssl/smtpd.crt'
postconf -e 'smtpd_tls_CAfile =/etc/postfix/ssl/cacert.pem'
postconf -e 'smtpd_tls_loglevel =1'
postconf -e 'smtpd_tls_received_header =yes'
postconf -e 'smtpd_tls_session_cache_timeout =3600s'
postconf -e 'tls_random_source =dev:/dev/urandom'
postconf -e 'myhostname =server1.example.com'
Die Datei /etc/postfix/main.cf sollte nun so aussehen:
# See /usr/share/postfix/main.cf.dist for a commented, more complete version |
/etc/init.d/postfixrestart
Die Authentifizierung erfolgt durch saslauthd .Wir müssen ein paar Dinge ändern, damit es richtig funktioniert. Weil Postfix in /var/spool/postfix läuft wir müssen folgendes tun:
mkdir -p /var/spool/postfix/var/run/saslauthd
rm -fr /var/run/saslauthd
Now we have toedit /etc/default/saslauthd in order to activate saslauthd .Remove # in front of START=yes and add the line PARAMS="-m/var/spool/postfix/var/run/saslauthd" :
# This needs to be uncommented before saslauthd will be run automatically |
Finally we haveto edit /etc/init.d/saslauthd .Change the line
dir=`dpkg-statoverride --list $PWDIR` |
to
#dir=`dpkg-statoverride --list $PWDIR` |
Then change thevariables PWDIR and PIDFILE and add the variable dir at the beginning of the file:
PWDIR="/var/spool/postfix/var/run/${NAME}" |
/etc/init.d/saslauthd should now looklike this:
#!/bin/sh -e |
Now start saslauthd :
/etc/init.d/saslauthd start
To see if SMTP-AUTHand TLS work properly now run the following command:
telnetlocalhost 25
After you haveestablished the connection to your postfix mail server type
ehlolocalhost
If you see thelines
250-STARTTLS
and
250-AUTH
everything is fine.

Type
quit
to return to thesystem's shell.
Courier-IMAP/Courier-POP3
Install Courier-IMAP/Courier-IMAP-SSL(for IMAPs on port 993) and Courier-POP3/Courier-POP3-SSL (for POP3s on port995).
apt-get install courier-authdaemoncourier-base courier-imap courier-imap-ssl courier-pop courier-pop-ssl courier-sslgamin libgamin0 libglib2.0-0 (oneline!)
<- No
<- OK
Then configurePostfix to deliver emails to a user's Maildir:
postconf -e 'home_mailbox=Maildir/'
postconf -e 'mailbox_command ='
/etc/init.d/postfix restart
Please go sureto enable Maildir underManagement -> Settings -> EMail in the ISPConfig web interface.
Apache
Run
apt-get install apache2apache2-common apache2-doc apache2-mpm-prefork apache2-utils libapr0 libexpat1ssl-cert (1line!)
apt-get install autoconf automake1.4 autotools-dev libapache2-mod-php4 libkrb53php4 php4-common php4-dev php4-imagick php4-mcrypt php4-rrdtool php4-sqlitephp4-curl php4-domxml php4-gd php4-imap php4-ldap php4-mcal php4-mhash php4-mysqlphp4-odbc php4-pear php4-xslt (1 line!)
<- Yes
Edit /etc/apache2/apache2.conf . Change
DirectoryIndex index.html index.cgi index.pl index.php index.xhtml |
to
DirectoryIndex index.html index.htm index.shtml index.cgi index.php index.php3 index.pl index.xhtml |
Edit /etc/mime.types and comment out the following lines:
#application/x-httpd-php phtml pht php |
Edit /etc/apache2/mods-enabled/php4.conf and comment out the following lines:
<IfModule mod_php4.c> |
Edit /etc/apache2/ports.conf and add Listen 443 :
Listen 80 |
Now we have toenable some Apache modules (SSL , rewrite and suexec ):
a2enmod ssl
a2enmod rewrite
a2enmod suexec
a2enmod include
Reload Apacheconfiguration:
/etc/init.d/apache2force-reload
Proftpd
apt-getinstall proftpd proftpd-common ucf
<- standalone
For security reasonsyou can add the following lines to /etc/proftpd.conf (thanks to Reinaldo Carvalho; more information can be found here:http://proftpd.linux.co.uk/localsite/Userguide/linked/userguide.html):
DefaultRoot ~
IdentLookups off
ServerIdent on "FTP Server ready."
and restart Proftpd:
/etc/init.d/proftpd restart
Webalizer
apt-getinstall webalizer
Install somePerl Modules needed by SpamAssassin (comes with ISPConfig)
apt-get installlibhtml-parser-perl libdb-file-lock-perl libnet-dns-perl
On To TheNext Step...
The configurationof the server is now finished, and we go on by installing ISPConfigon it.
3 Installing ISPConfig
I will installthe current ISPConfig version. Download the current ISPConfig version from http://www.ispconfig.org/downloads.htmto your /tmp directory.
Unpack the ISPConfig-archiveand change to the directory install_ispconfig :
tarxvfz ISPConfig*.tar.gz
cd install_ispconfig
Start the setupscript
./setup
The installer willnow compile an Apache with PHP5 that will run on port 81 and is needed by theISPConfig system itself. It will not interfere with your existing Apache installationso you can go on unworried.
When the ISPConfigApache is built, a custom SSL certificate is built. Therefore you are askeda few questions. You can accept the default values, or you can enter new valuesthere, this does not matter:
In step 7 (EncryptingRSA private key of CA with a pass phrase for security [ca.key] ) andstep 8 (Encrypting RSA private keyof SERVER with a pass phrase for security [server.key] ) of the certificatecreation process you are asked if you want to encrypt the respective key now.Choose n there becauseotherwise you will always be asked for a password whenever you want to restartthe ISPConfig system which means it cannot be restarted without human interaction!
If the compilationfails, the setup is stopped and all compiled files are removed. From the errormessage you get you should be able to see the reason for the failure (in mostcases a package (like the MySQL header files) is missing). Try to solve theproblem and the re-run ./setup .
In case of successthe setup goes on:
Pleasechoose your language. This is the language of the ISPConfig interface.
Afterwards youare shown the ISPConfig licence (BSD licence). Please read it carefully! Youaccept it by typing y .If you do not want to accept the ISPConfig licence, type n ,and the installation routine stops.
As installation mode I chose expert becausei want to set the website root to /var/www .When you are asked for installation mode, type 2 and hit return.
Now you are askif the daemons like postfix etc. are recognized correctly and for their filelocations, chose yes y .
When you are asked:
Web-Root:/home/www
Is this correct? [y/n]
choose n and enter /var/www as Web-Root.
Now you are askedfor some installation settings:
Pleaseenter your MySQL server: localhost
Please enter your MySQL user: root
Please enter your MySQL password: (Enter the password you chose when setting up the MySQL Server)
Please enter a name for the ISPConfigdatabase (e.g. db_ispconfig): db_ispconfig
Please enter the IP addressof the ISPConfig web (e.g. 192.168.0.1): 192.168.0.100 (Enteryour IP here)
Now you are askto enter the host and domain of your server. If your server has a host and domainname,enter them now. As this is a test install in my local network, I leave the hostempty and enter my IP address instead of the domain.
Pleaseenter the host name (e.g. www):
Please enter the domain (e.g.xyz.de): 192.169.0.100
Pleaseselect the protocol (http or https (SSL encryption)) to use to access the ISPConfigsystem:
1) HTTPS
2) HTTP
Your Choice: 1
After you haveanswered the questions ISPConfig should be duly installed. If you indicated www as host and xyz.com as the domain during the installation, you will find the ISPConfig interfaceunder https://www.xyz.de:81 or http://www.xyz.de:81 .Here you can login first with the user name admin and password admin . Itis recommended to change the password immediately! This can be done in the ISPConfigweb interface under Tools -> Changepassword .
Then go to Management-> Server -> Settings in the ISPConfig control panel and tickthe Maildir checkbox onthe EMail tab.
If your serverhas more than one IP address, please check if your additional IP addresses havebeen correctly detected by the installation routine under Management-> Server ->
Settings on the tab Server-> IP List .
You can find thewhole ISPConfig installation instructions here:http://www.ispconfig.org/manual_installation.htm
The ISPConfig manualscan be found here:http://www.ispconfig.org/documentation.htm
Links
- http://www.ubuntu.com
- http://www.ispconfig.org