Heute erfahren Sie, wie Sie FileRun unter Ubuntu 20.04 installieren
FileRun ist eine selbst gehostete Google Drive-Alternative. Es ist ein voll ausgestatteter webbasierter Dateimanager mit einer einfach zu bedienenden Benutzeroberfläche. Es eignet sich hervorragend zum Verwalten Ihrer Foto-, Film- und Audiosammlung oder zum Teilen von Dateien mit Familie und Freunden.
FileRun ist eine zuverlässige und leistungsstarke Dateiverwaltung, Desktop-Synchronisierung und Dateifreigabe
Es läuft hervorragend auf jedem Server, einschließlich Hosting-Konten oder kleinen Geräten wie Raspberry PiGreifen Sie von überall (Desktop, mobile App oder Browser) auf Ihre Dateien zu.
Installation
Befolgen Sie einfach die nachstehenden Schritte, um mit fileRun zu beginnen
- Aktualisieren und aktualisieren Sie Ihre Systempakete
sudo apt update && sudo apt upgrade- Installieren Sie LAMP Server (LAMP-Stack).
- Installieren Sie PHP-Module wie folgt:
sudo apt install php-gd php-json php-mbstring php-mysqli php-xmlrpc php libapache2-mod-php php-common php-mbstring php-xmlrpc php-soap php-gd php-xml php-intl php libapache2-mod-php php-mysql php-mysql wget unzip php-cli php-zip php-curl -y- Außerdem müssen Sie ionCube installieren Loader-Modul für PHP, Sie können den Schritten in dieser Anleitung unten folgen, um es zu installieren
So installieren Sie den ionCube Loader in Ubuntu
- Installieren Sie den Apache-Webserver und die Maria-Datenbank wie unten gezeigt:
sudo apt install apache2 mariadb-server-10.3 -y- Starten und aktivieren Sie Apache und Mariadb.
systemctl start apache2 mariadb
systemctl enable apache2 mariadb
systemctl status apache2 mariadb- Konfigurieren und sichern Sie MariaDB wie folgt:
mysql_secure_installation

NOTE: RUNNING ALL PARTS OF THIS SCRIPT IS RECOMMENDED FOR ALL MariaDB
      SERVERS IN PRODUCTION USE!  PLEASE READ EACH STEP CAREFULLY!

In order to log into MariaDB to secure it, we'll need the current
password for the root user.  If you've just installed MariaDB, and
you haven't set the root password yet, the password will be blank,
so you should just press enter here.

Enter current password for root (enter for none):
OK, successfully used password, moving on...

Setting the root password ensures that nobody can log into the MariaDB
root user without the proper authorisation.

Set root password? [Y/n] y
New password:
Re-enter new password:
Password updated successfully!
Reloading privilege tables..
 ... Success!


By default, a MariaDB installation has an anonymous user, allowing anyone
to log into MariaDB without having to have a user account created for
them.  This is intended only for testing, and to make the installation
go a bit smoother.  You should remove them before moving into a
production environment.

Remove anonymous users? [Y/n] y
 ... Success!

Normally, root should only be allowed to connect from 'localhost'.  This
ensures that someone cannot guess at the root password from the network.

Disallow root login remotely? [Y/n] y
 ... Success!

By default, MariaDB comes with a database named 'test' that anyone can
access.  This is also intended only for testing, and should be removed
before moving into a production environment.

Remove test database and access to it? [Y/n] y
 - Dropping test database...
 ... Success!
 - Removing privileges on test database...
 ... Success!

Reloading the privilege tables will ensure that all changes made so far
will take effect immediately.

Reload privilege tables now? [Y/n] y
 ... Success!

Cleaning up...

All done!  If you've completed all of the above steps, your MariaDB
installation should now be secure.

Thanks for using MariaDB!- Melden Sie sich bei der MariaDB-Shell an:
mysql -u root -pCREATE DATABASE filerun_db;
CREATE USER 'filerun_user'@'localhost' IDENTIFIED BY 'your_password';
GRANT ALL PRIVILEGES ON `filerun_db`.* TO 'filerun_user'@'localhost';
FLUSH PRIVILEGES;- Laden Sie die neueste Version von filerun herunter mit dem folgenden Befehl:
wget -O FileRun.zip https://filerun.com/download-latest- entpacken Sie die heruntergeladene Datei mit dem folgenden Befehl:
unzip FileRun.zip -d /var/www/html/filerun/- Ändern Sie einige Ordnerberechtigungen wie folgt:
chown -R www-data:www-data /var/www/html/filerun
chmod -R 755 /var/www/html/filerun- Erstellen Sie eine PHP-Konfigurationsdatei für FileRun
vim /etc/php/7.4/apache2/conf.d/filerun.iniFügen Sie dann die folgende Konfiguration hinzu:
expose_php = Off
error_reporting = E_ALL & ~E_NOTICE
display_errors = Off
display_startup_errors = Off
log_errors = On
ignore_repeated_errors = Off
allow_url_fopen = On
allow_url_include = Off
variables_order = "GPCS"
allow_webdav_methods = On
memory_limit = 128M
max_execution_time = 300
output_buffering = Off
output_handler = ""
zlib.output_compression = Off
zlib.output_handler = ""
safe_mode = Off
register_globals = Off
magic_quotes_gpc = Off
upload_max_filesize = 20M
post_max_size = 20M
enable_dl = Off
disable_functions = ""
disable_classes = ""
session.save_handler = files
session.use_cookies = 1
session.use_only_cookies = 1
session.auto_start = 0
session.cookie_lifetime = 0
session.cookie_httponly = 1
date.timezone = "UTC"- Speichern und schließen Sie die Datei.
- Starten Sie Apache neu.
sudo systemctl reload apache2Erstellen Sie außerdem eine Konfigurationsdatei für den virtuellen Apache-Host für FileRun .
vim /etc/apache2/sites-available/filerun.confFügen Sie dann den folgenden virtuellen Host wie folgt hinzu
<VirtualHost *:80>
        ServerName filerun.unixcop.com.com

        DocumentRoot /var/www/html/filerun

        <Directory "/var/www/html/filerun">
                Options Indexes FollowSymLinks
                AllowOverride All
                Require all granted
        </Directory>

        ErrorLog ${APACHE_LOG_DIR}/filerun.error.log
        CustomLog ${APACHE_LOG_DIR}/filerun.access.log combined
</VirtualHost>- Speichern und schließen Sie die Datei und starten Sie dann Apache mit den folgenden Befehlen neu:
sudo a2ensite filerun.conf
sudo a2enmod rewrite
sudo systemctl restart apache2- Öffnen Sie die Ports 80 und 443 in der Firewall, um HTTP- und HTTPS-Datenverkehr zuzulassen:
sudo ufw allow 80/tcp
sudo ufw allow 443/tcp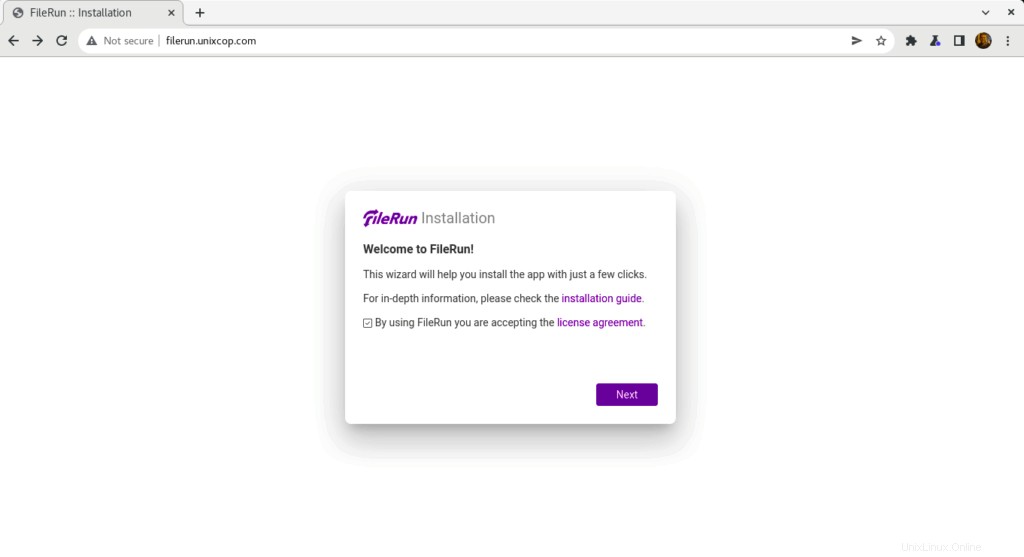
sudo ufw reload- Greifen Sie auf FileRun zu Webinterface, indem Sie Ihren Webbrowser öffnen und über die URLhttps://filerun.unixcop.com darauf zugreifen
- Sie sollten Folgendes sehen. Klicken Sie auf Weiter um mit dem FileRun zu beginnen Installation
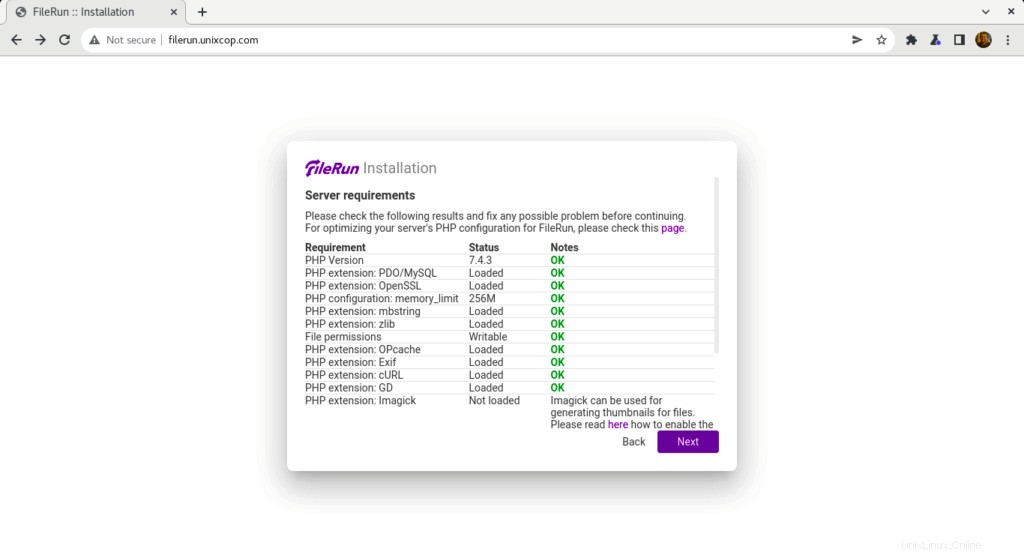
- FileRun überprüft die Serveranforderungen, um die Installation wie unten gezeigt fortzusetzen
- Geben Sie Ihre Datenbankverbindungsinformationen ein, die wir zuvor erstellt haben, und klicken Sie dann auf Weiter .

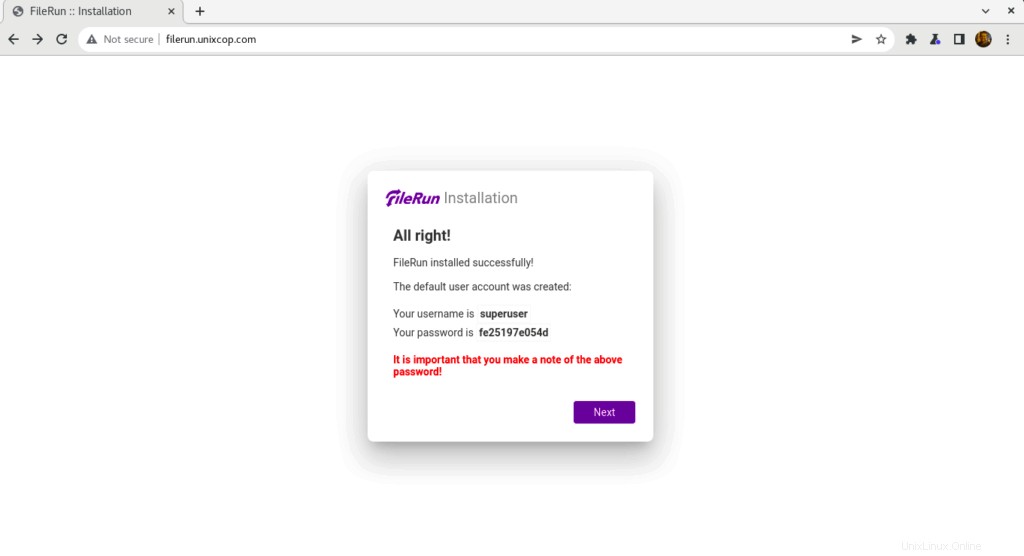
- Der Standardbenutzer für FileRun wurde erstellt und Sie müssen sich diese Zugangsdaten notieren, um sich bei filerun anmelden zu können
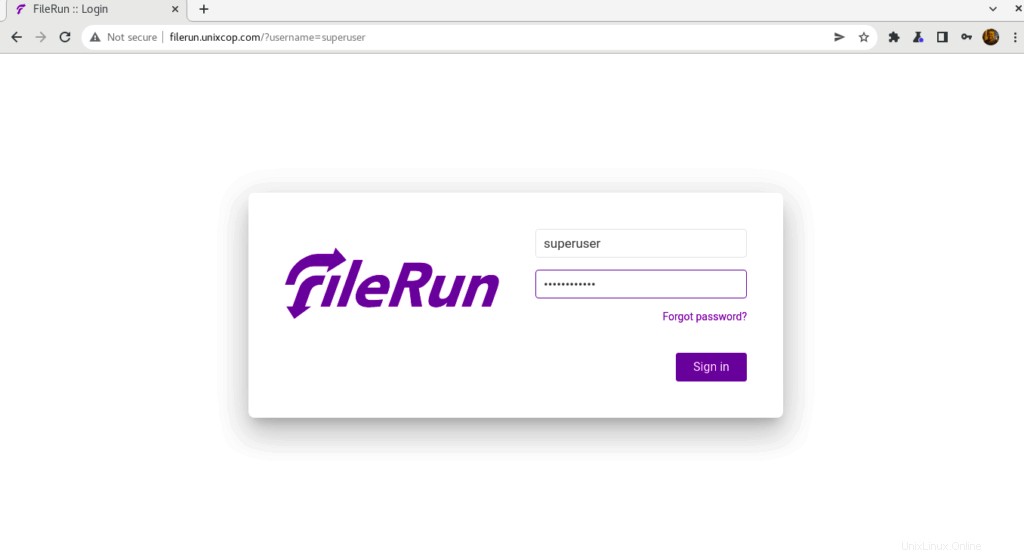
- Verwenden Sie die oben im Screenshot gezeigten Anmeldeinformationen, um sich bei Filerun anzumelden wie unten gezeigt
- Sie werden zum Dashboard von FileRun weitergeleitet
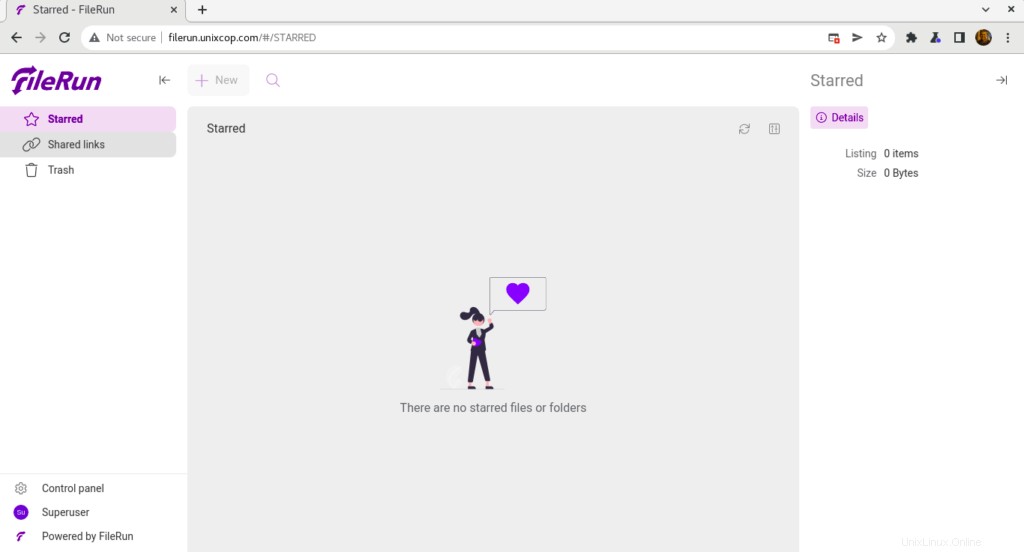
Herzliche Glückwünsche! Sie haben FileRun erfolgreich installiert.
Schlussfolgerung
Das ist es
In dieser Anleitung haben wir Ihnen gezeigt, wie Sie FileRun installieren auf Ubuntu 20.04
Danke