phpMyAdmin ist das webbasierte Verwaltungstool zur Verwaltung der MySQL-, MariaDB- und Drizzle-Server; Es hilft bei der Durchführung von Datenbankaktivitäten wie dem Erstellen, Löschen, Abfragen von Tabellen, Spalten, Beziehungen, Indizes, Benutzern, Berechtigungen usw.
Diese Anleitung hilft Ihnen bei der Installation von phpMyAdmin auf Fedora 27 / Fedora 26 /25.
Installieren Sie phpMyAdmin
Installieren Sie phpMyAdmin mit dem folgenden Befehl.
dnf -y install phpmyadmin httpd
phpMyAdmin konfigurieren
Standardmäßig platziert phpMyAdmin die Webkonfigurationsdatei in /etc/httpd/conf.d Verzeichnis; es hat die Regeln und die Zugriffsberechtigung. Auf phpMyAdmin kann nur vom localhost aus zugegriffen werden, um dies zu ändern; wir müssen die Datei phpMyadmin.conf bearbeiten.
In Fedora wird der Webzugriff von mod_authz_core.c verwaltet Modul; normale Zulassen- oder Ablehnen-Regeln funktionieren also nicht, selbst wenn Sie sie ändern.
vi /etc/httpd/conf.d/phpMyAdmin.conf
Die Standardkonfiguration sieht wie folgt aus.
Alias /phpMyAdmin /usr/share/phpMyAdmin
Alias /phpmyadmin /usr/share/phpMyAdmin

<Directory /usr/share/phpMyAdmin/>
   AddDefaultCharset UTF-8

   <IfModule mod_authz_core.c>
     # Apache 2.4
     <RequireAny>
       Require ip 127.0.0.1
       Require ip ::1
     </RequireAny>
   </IfModule>
   <IfModule !mod_authz_core.c>
     # Apache 2.2
     Order Deny,Allow
     Deny from All
     Allow from 127.0.0.1
     Allow from ::1
   </IfModule>
</Directory>

<Directory /usr/share/phpMyAdmin/setup/>
   <IfModule mod_authz_core.c>
     # Apache 2.4
     <RequireAny>
       Require ip 127.0.0.1
       Require ip ::1
     </RequireAny>
   </IfModule>
   <IfModule !mod_authz_core.c>
     # Apache 2.2
     Order Deny,Allow
     Deny from All
     Allow from 127.0.0.1
     Allow from ::1
   </IfModule>
</Directory>
Bitte kommentieren Sie Require ip 127.0.0.1 und Require ip ::1 aus Fügen Sie dann Alle gewährten Anforderungen erfordern hinzu direkt unter der kommentierten Zeile. Es sieht wie folgt aus.
Alias /phpMyAdmin /usr/share/phpMyAdmin
Alias /phpmyadmin /usr/share/phpMyAdmin

<Directory /usr/share/phpMyAdmin/>
   AddDefaultCharset UTF-8

   <IfModule mod_authz_core.c>
     # Apache 2.4
     <RequireAny>
       # Require ip 127.0.0.1
       # Require ip ::1
       Require all granted
     </RequireAny>
   </IfModule>
   <IfModule !mod_authz_core.c>
     # Apache 2.2
     Order Deny,Allow
     Deny from All
     Allow from 127.0.0.1
     Allow from ::1
   </IfModule>
</Directory>

<Directory /usr/share/phpMyAdmin/setup/>
   <IfModule mod_authz_core.c>
     # Apache 2.4
     <RequireAny>
       # Require ip 127.0.0.1
       # Require ip ::1
       Require all granted
     </RequireAny>
   </IfModule>
   <IfModule !mod_authz_core.c>
     # Apache 2.2
     Order Deny,Allow
     Deny from All
     Allow from 127.0.0.1
     Allow from ::1
   </IfModule>
</Directory>
Starten Sie den Apache-Dienst neu.
systemctl restart httpd
Konfigurieren Sie die Firewall so, dass HTTP-Anforderungen aus dem externen Netzwerk zugelassen werden.
firewall-cmd --permanent --add-service=http
firewall-cmd --reload
Zugreifen auf phpMyAdmin
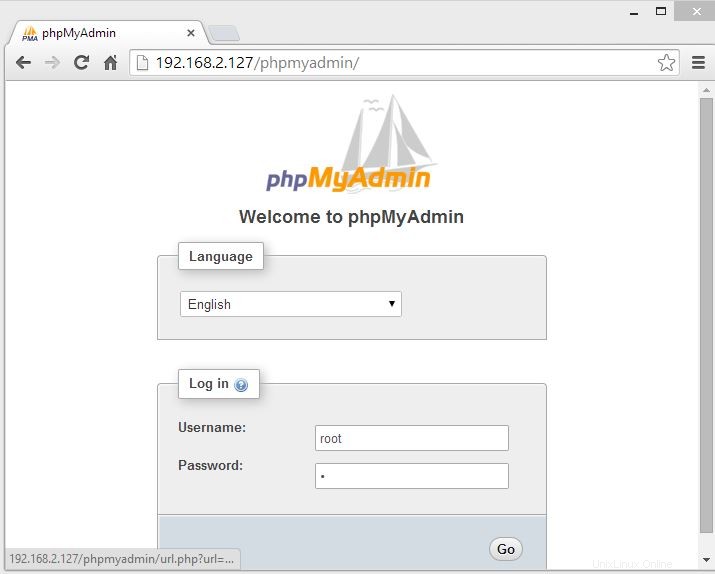
Greifen Sie nun über den Browser auf phpMyAdmin zu, die URL lautet
http://Ihre-IP-Adresse/phpMyAdminMelden Sie sich als root (Datenbankadministrator) oder DB-Benutzer an.

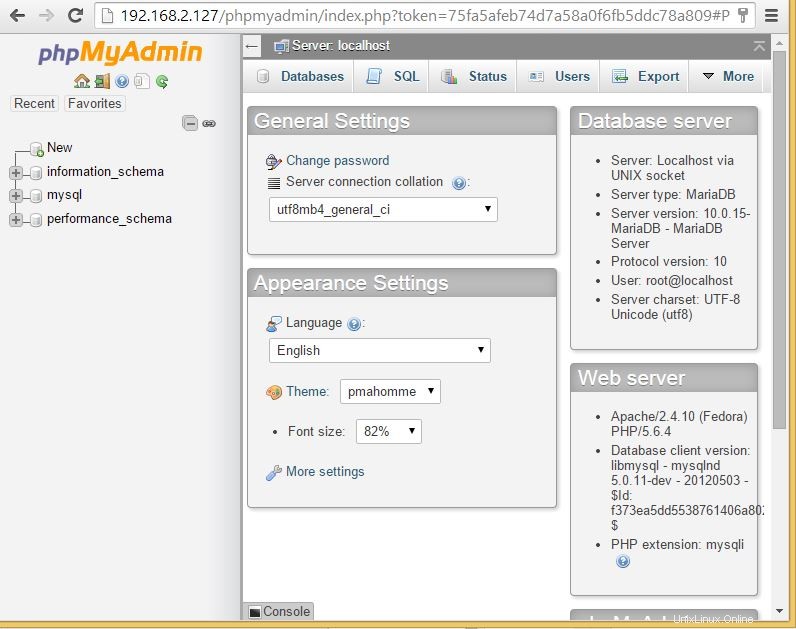
Sie erhalten die Datenbankseite.

Das ist alles. Hoffe, das hat Ihnen geholfen, wir freuen uns über Ihre Kommentare.